
 I have recently been to London to learn about traditional Millinery techniques from the great Rose Cory. Rose is often referred to as the “Milliners Milliner” and during her forty year career and has made fabulous hats for many celebrities including the late Queen Mum.
I’m writing this post as a personal record / memory jogger of how I made my Sinamay Hat under Rose’s guidance. What has become apparent over the last few months is that there is no right or wrong way to make a hat, every millinery has their own preference, tips and techniques. If you have any of your own, please send me your comment – I would love to know.
Ok – here we go. I’ve used 1.75m of Sinamay , gauge 22 millinery wire and 25 inches of Petersham ribbon.
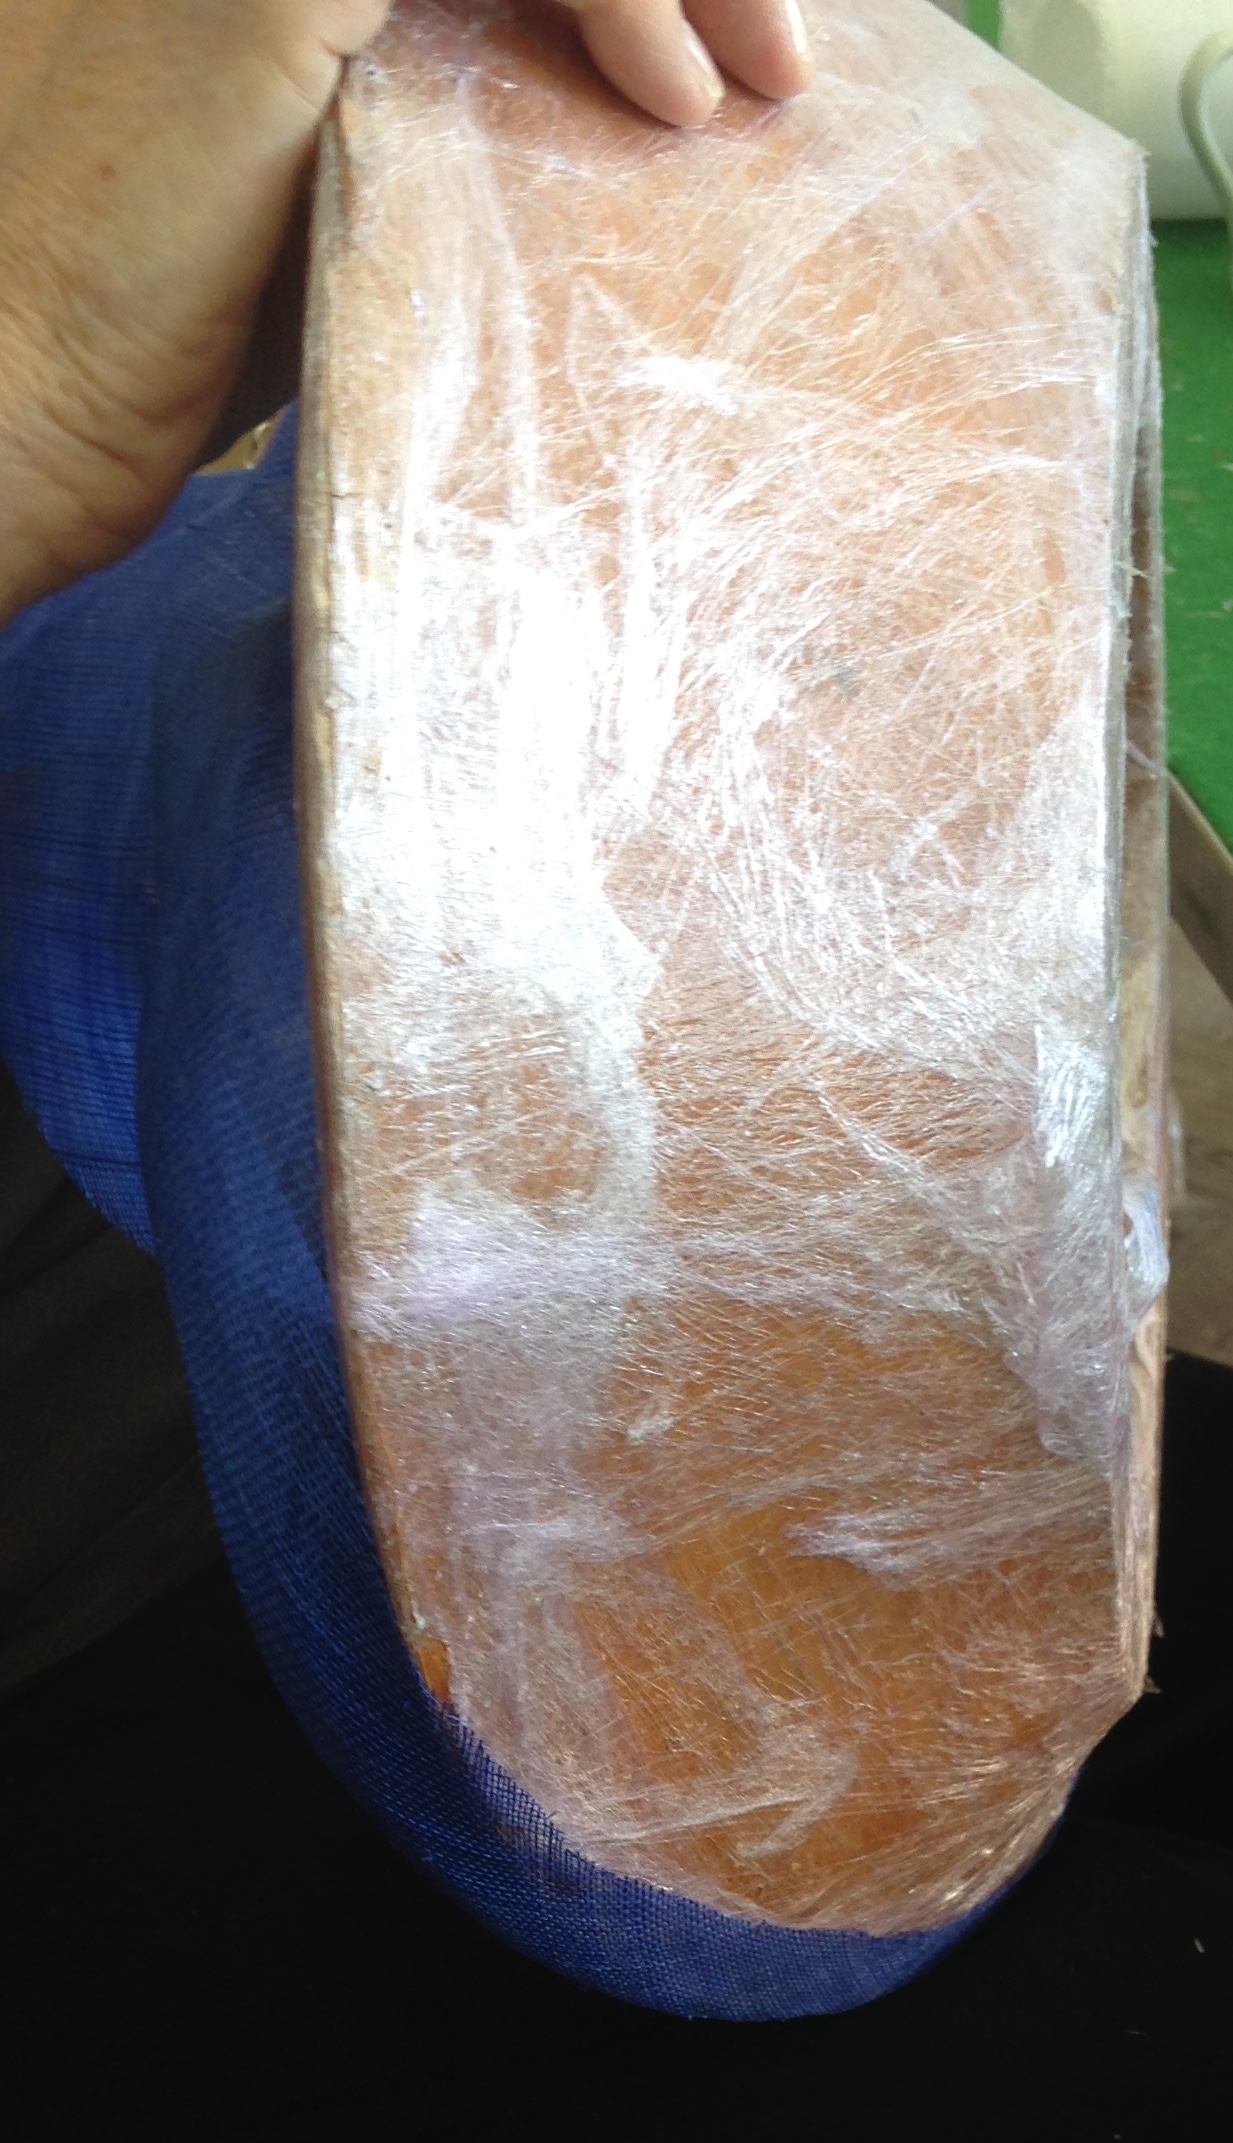
Step 1 – Cover your block in plastic then measure the widest part of your brim block and cut 2 Sinamay bias strips (mine are 7.5 inches) of that width.

Step 2: Soak the bias Sinamay strips in water for 5 minutes until soft.

Step 3: Remove the Sinamay from the water and blot with kitchen towel to remove excess. Pin the bias strip to outside edge (widest part) of brim every 6 inches or so.
Step 4: Use a pin to mark the position where the bias strip overlaps. Remove the Sinamay strip from the block and pin the seam in place. Use a sewing machine to join the strip ends. Trim seam to 2cm. Hand press the seam flat.


Step 5: Repeat step 3 and 4 with the second bias strip.
Step 6: Lay the bias strips with the wrong sides together so that the seams cross. Pin the 2 bias strips to keep them roughly together.
Step 7: Make up your water based stiffening solution (1 stiffener: 3 water), soak the Sinamay strips in stiffening solution for 5 mins. Blot off excess solution with kitchen roll.
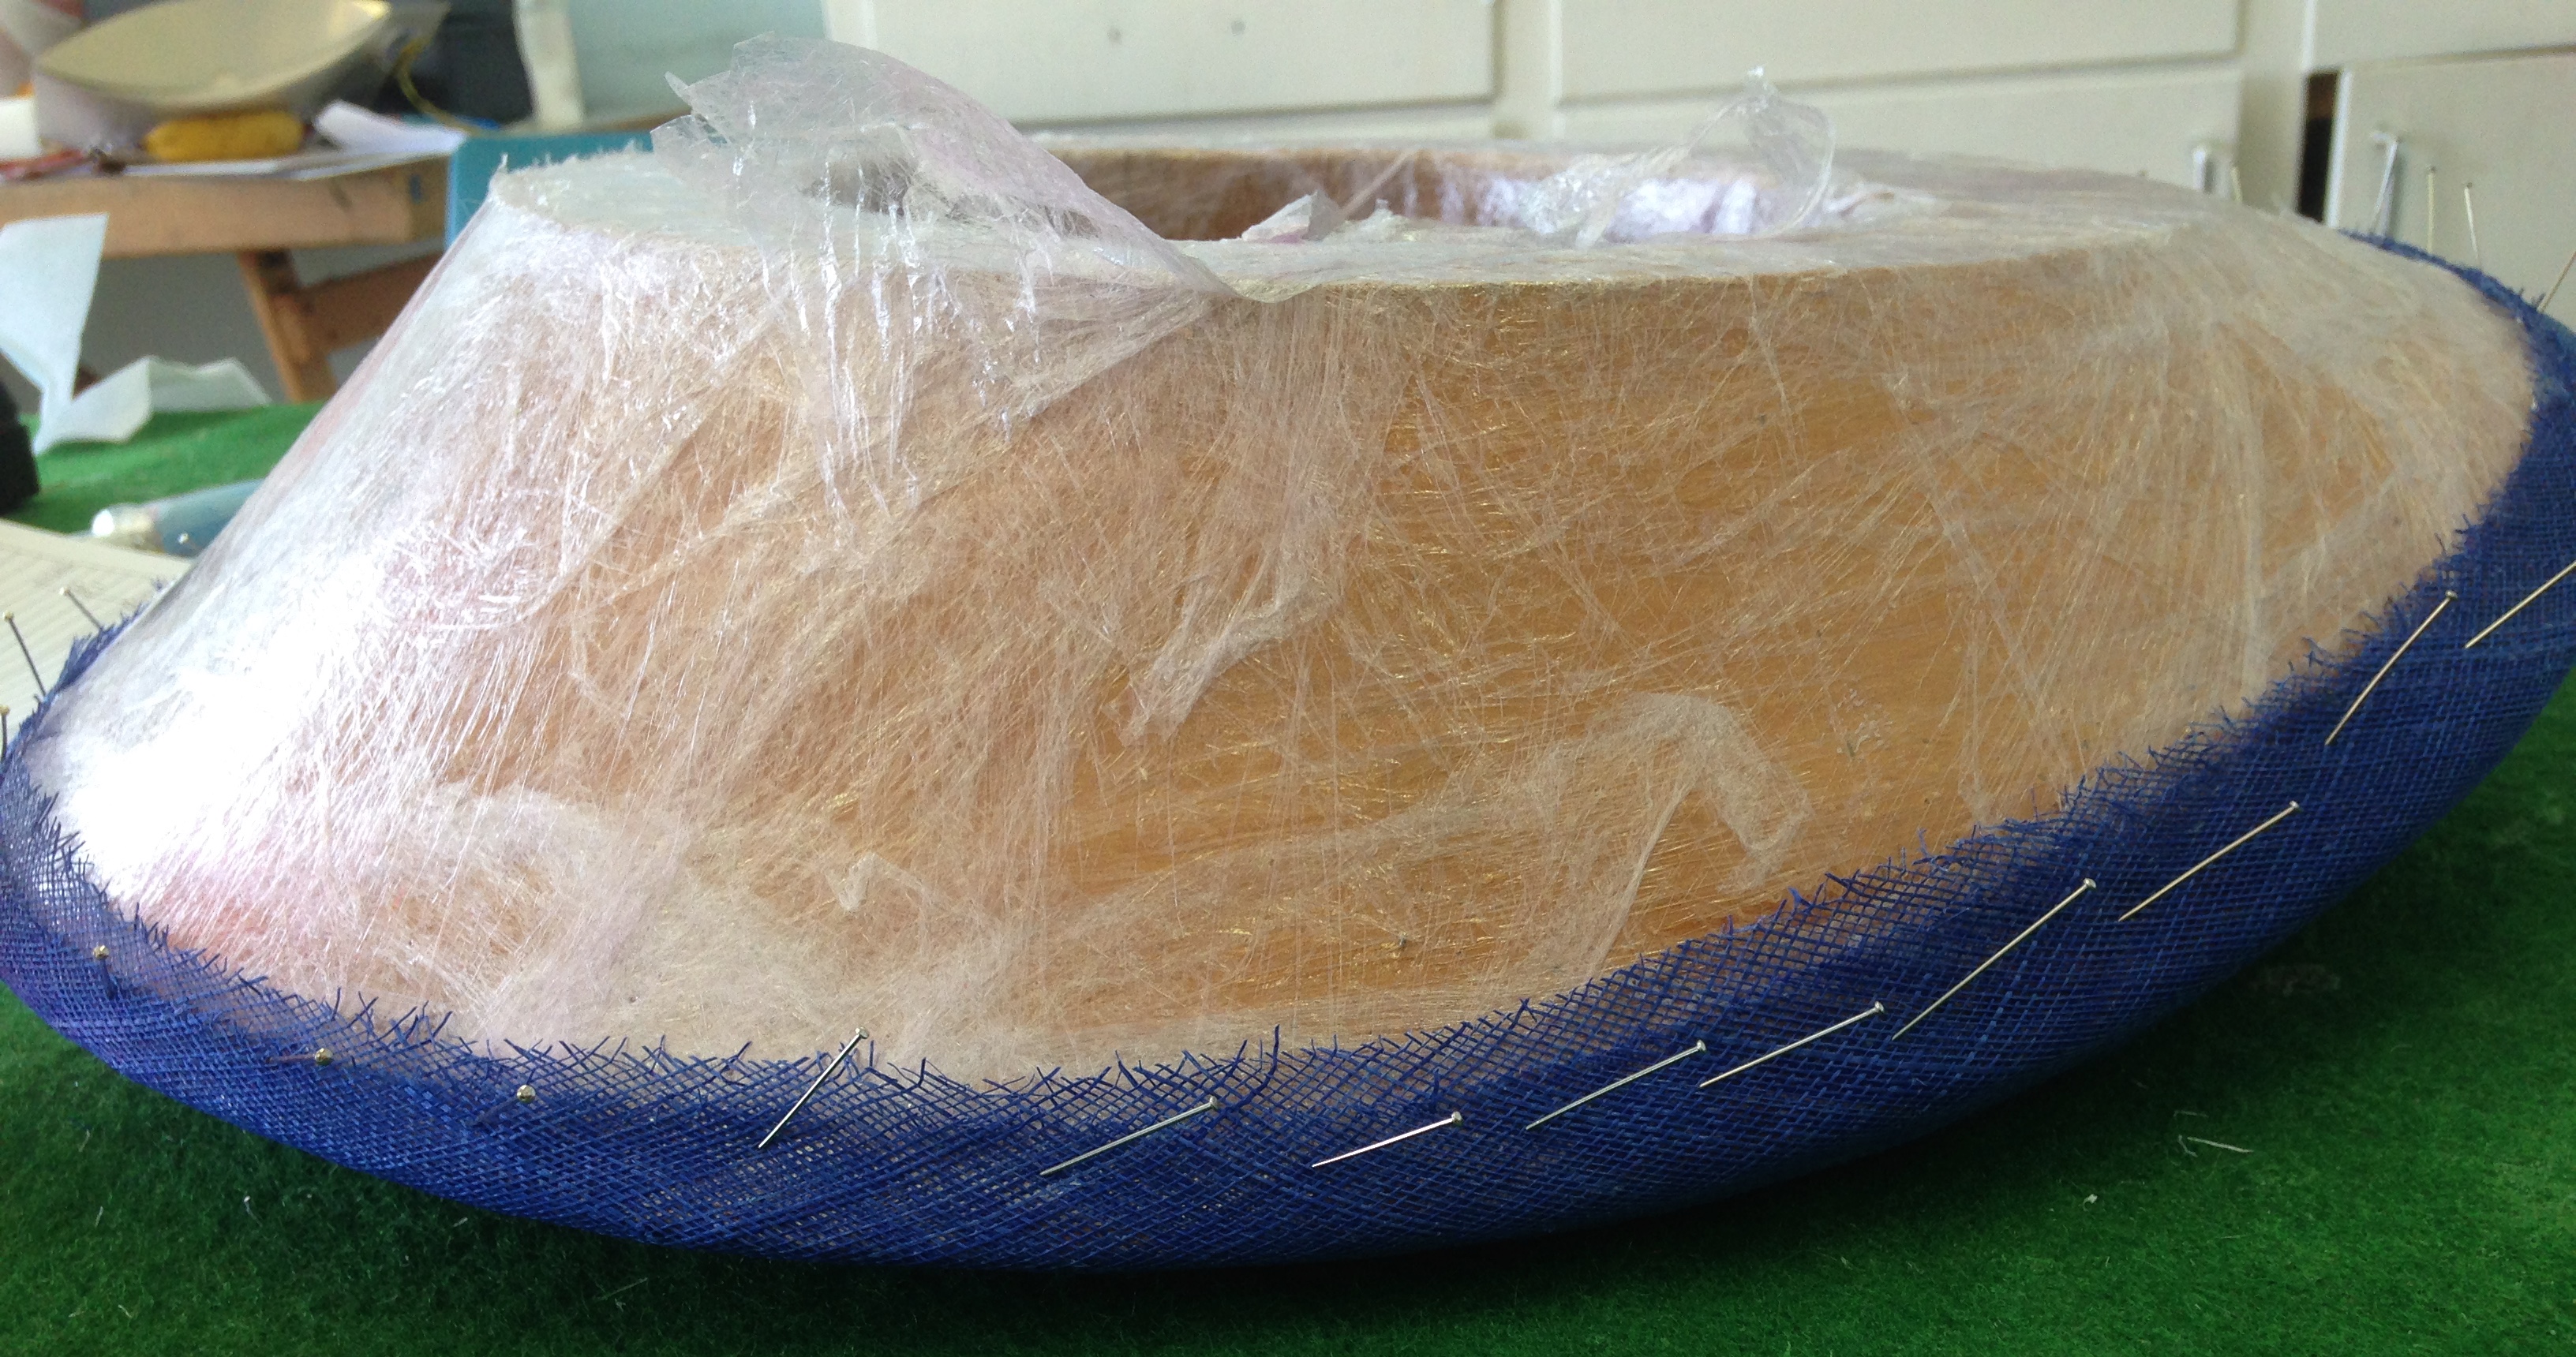
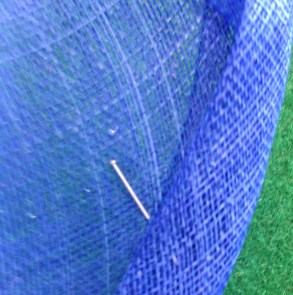
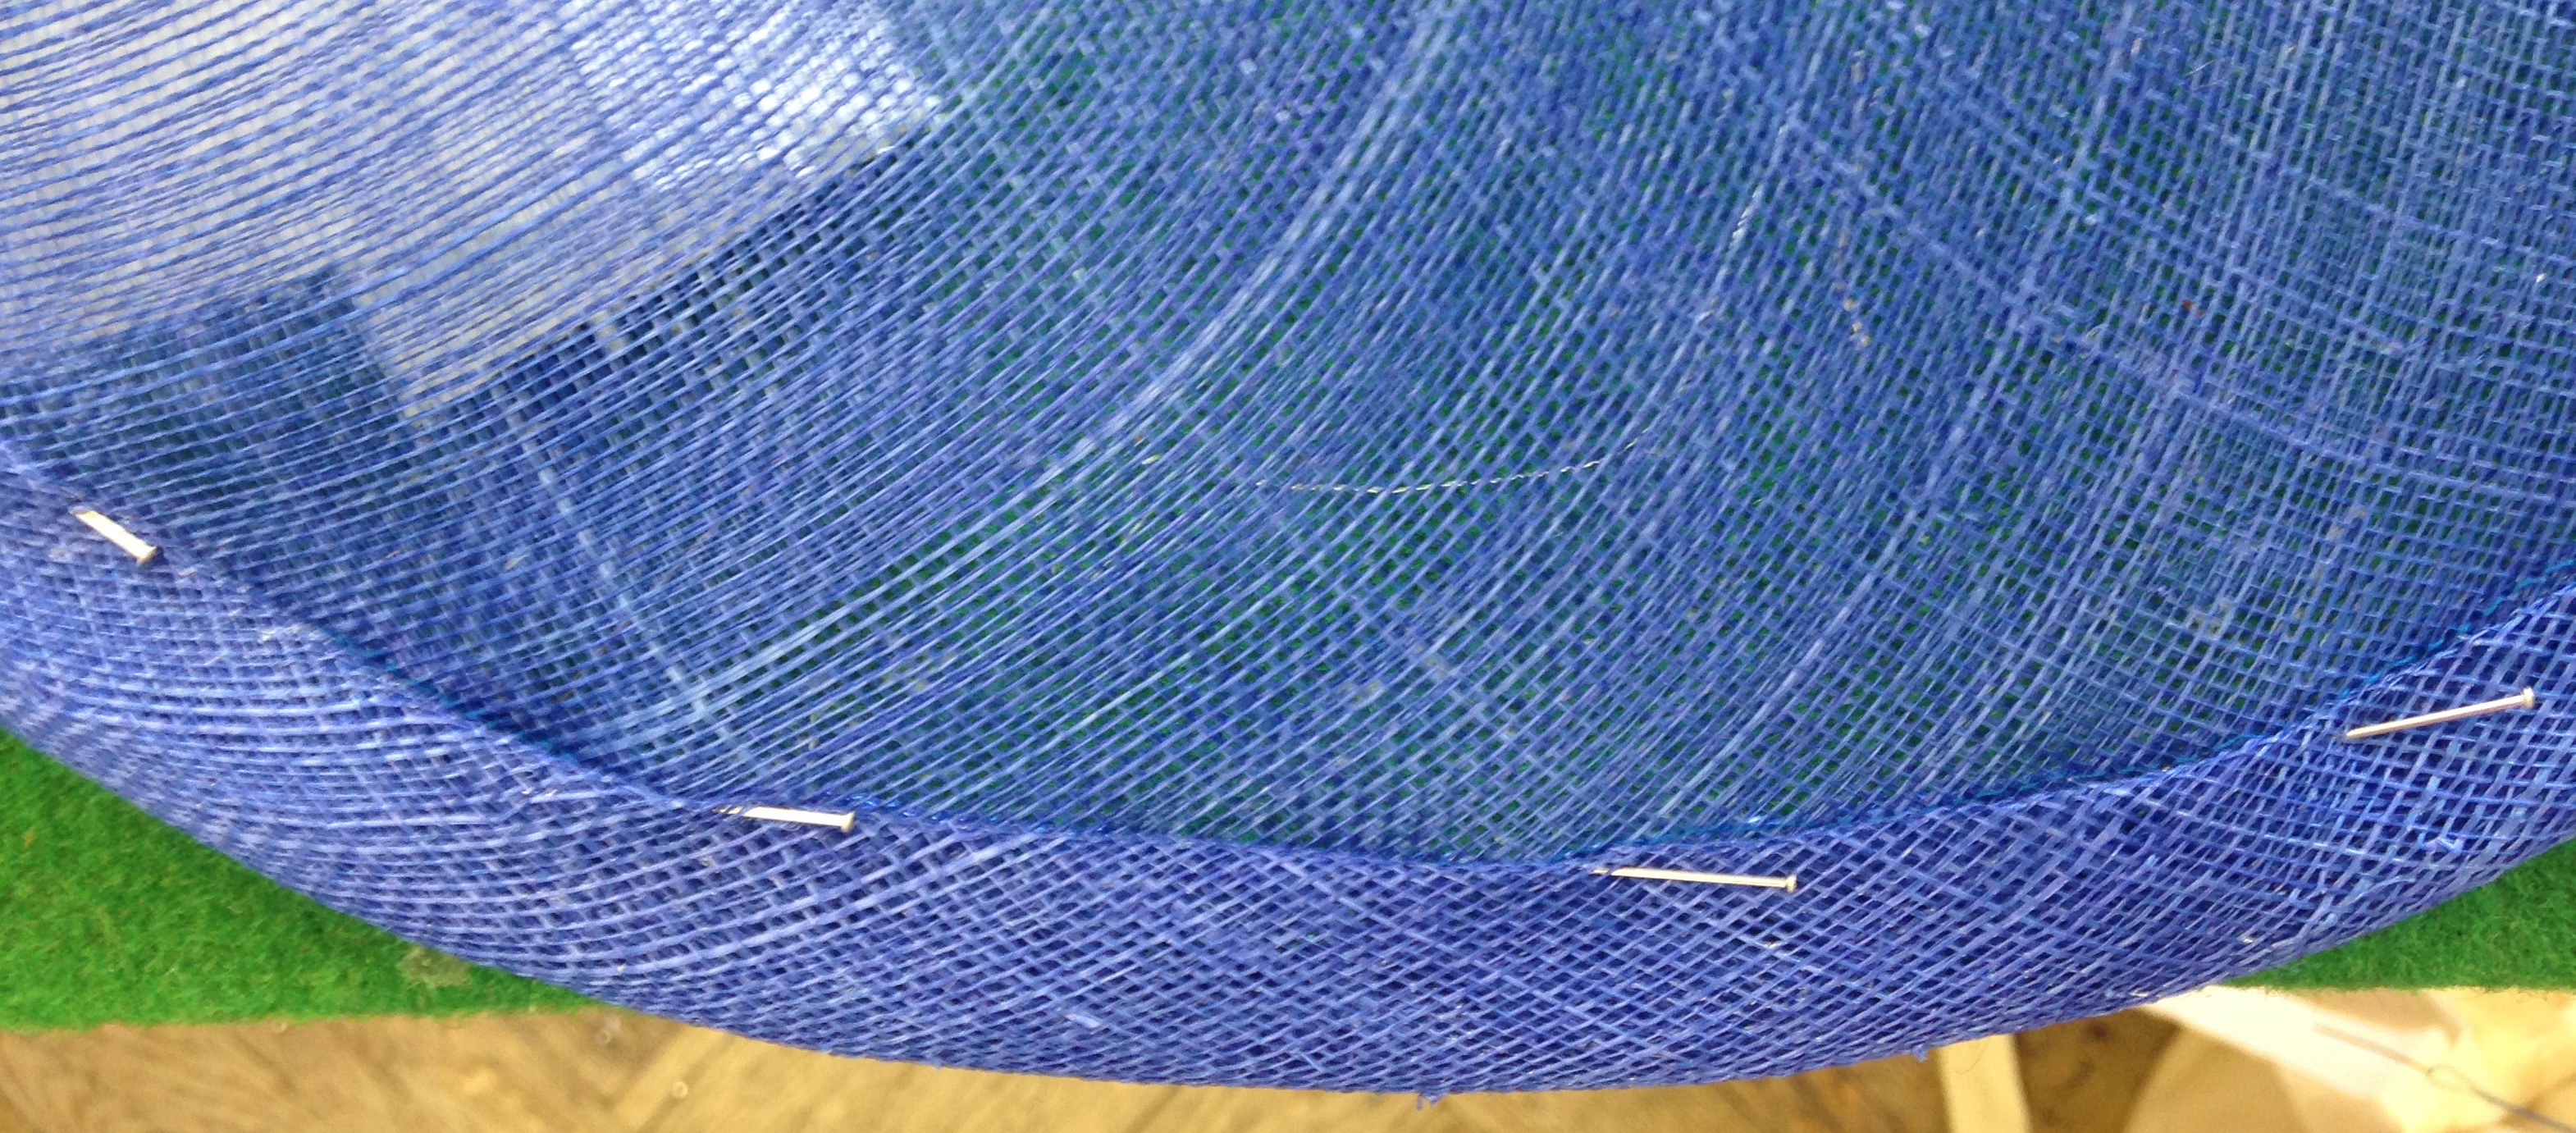
Step 8: Pin the bias strip to the outside edge of the block. Remember to place your pins at an angle to help keep the fabric in place.

Step 9: Pin the inside edge of the brim in an opposite direction to the outside edge. Stretch the layers out and pin in place so that the fabric is smooth. Here is a photo from the other side. Put the brim to one side to dry.
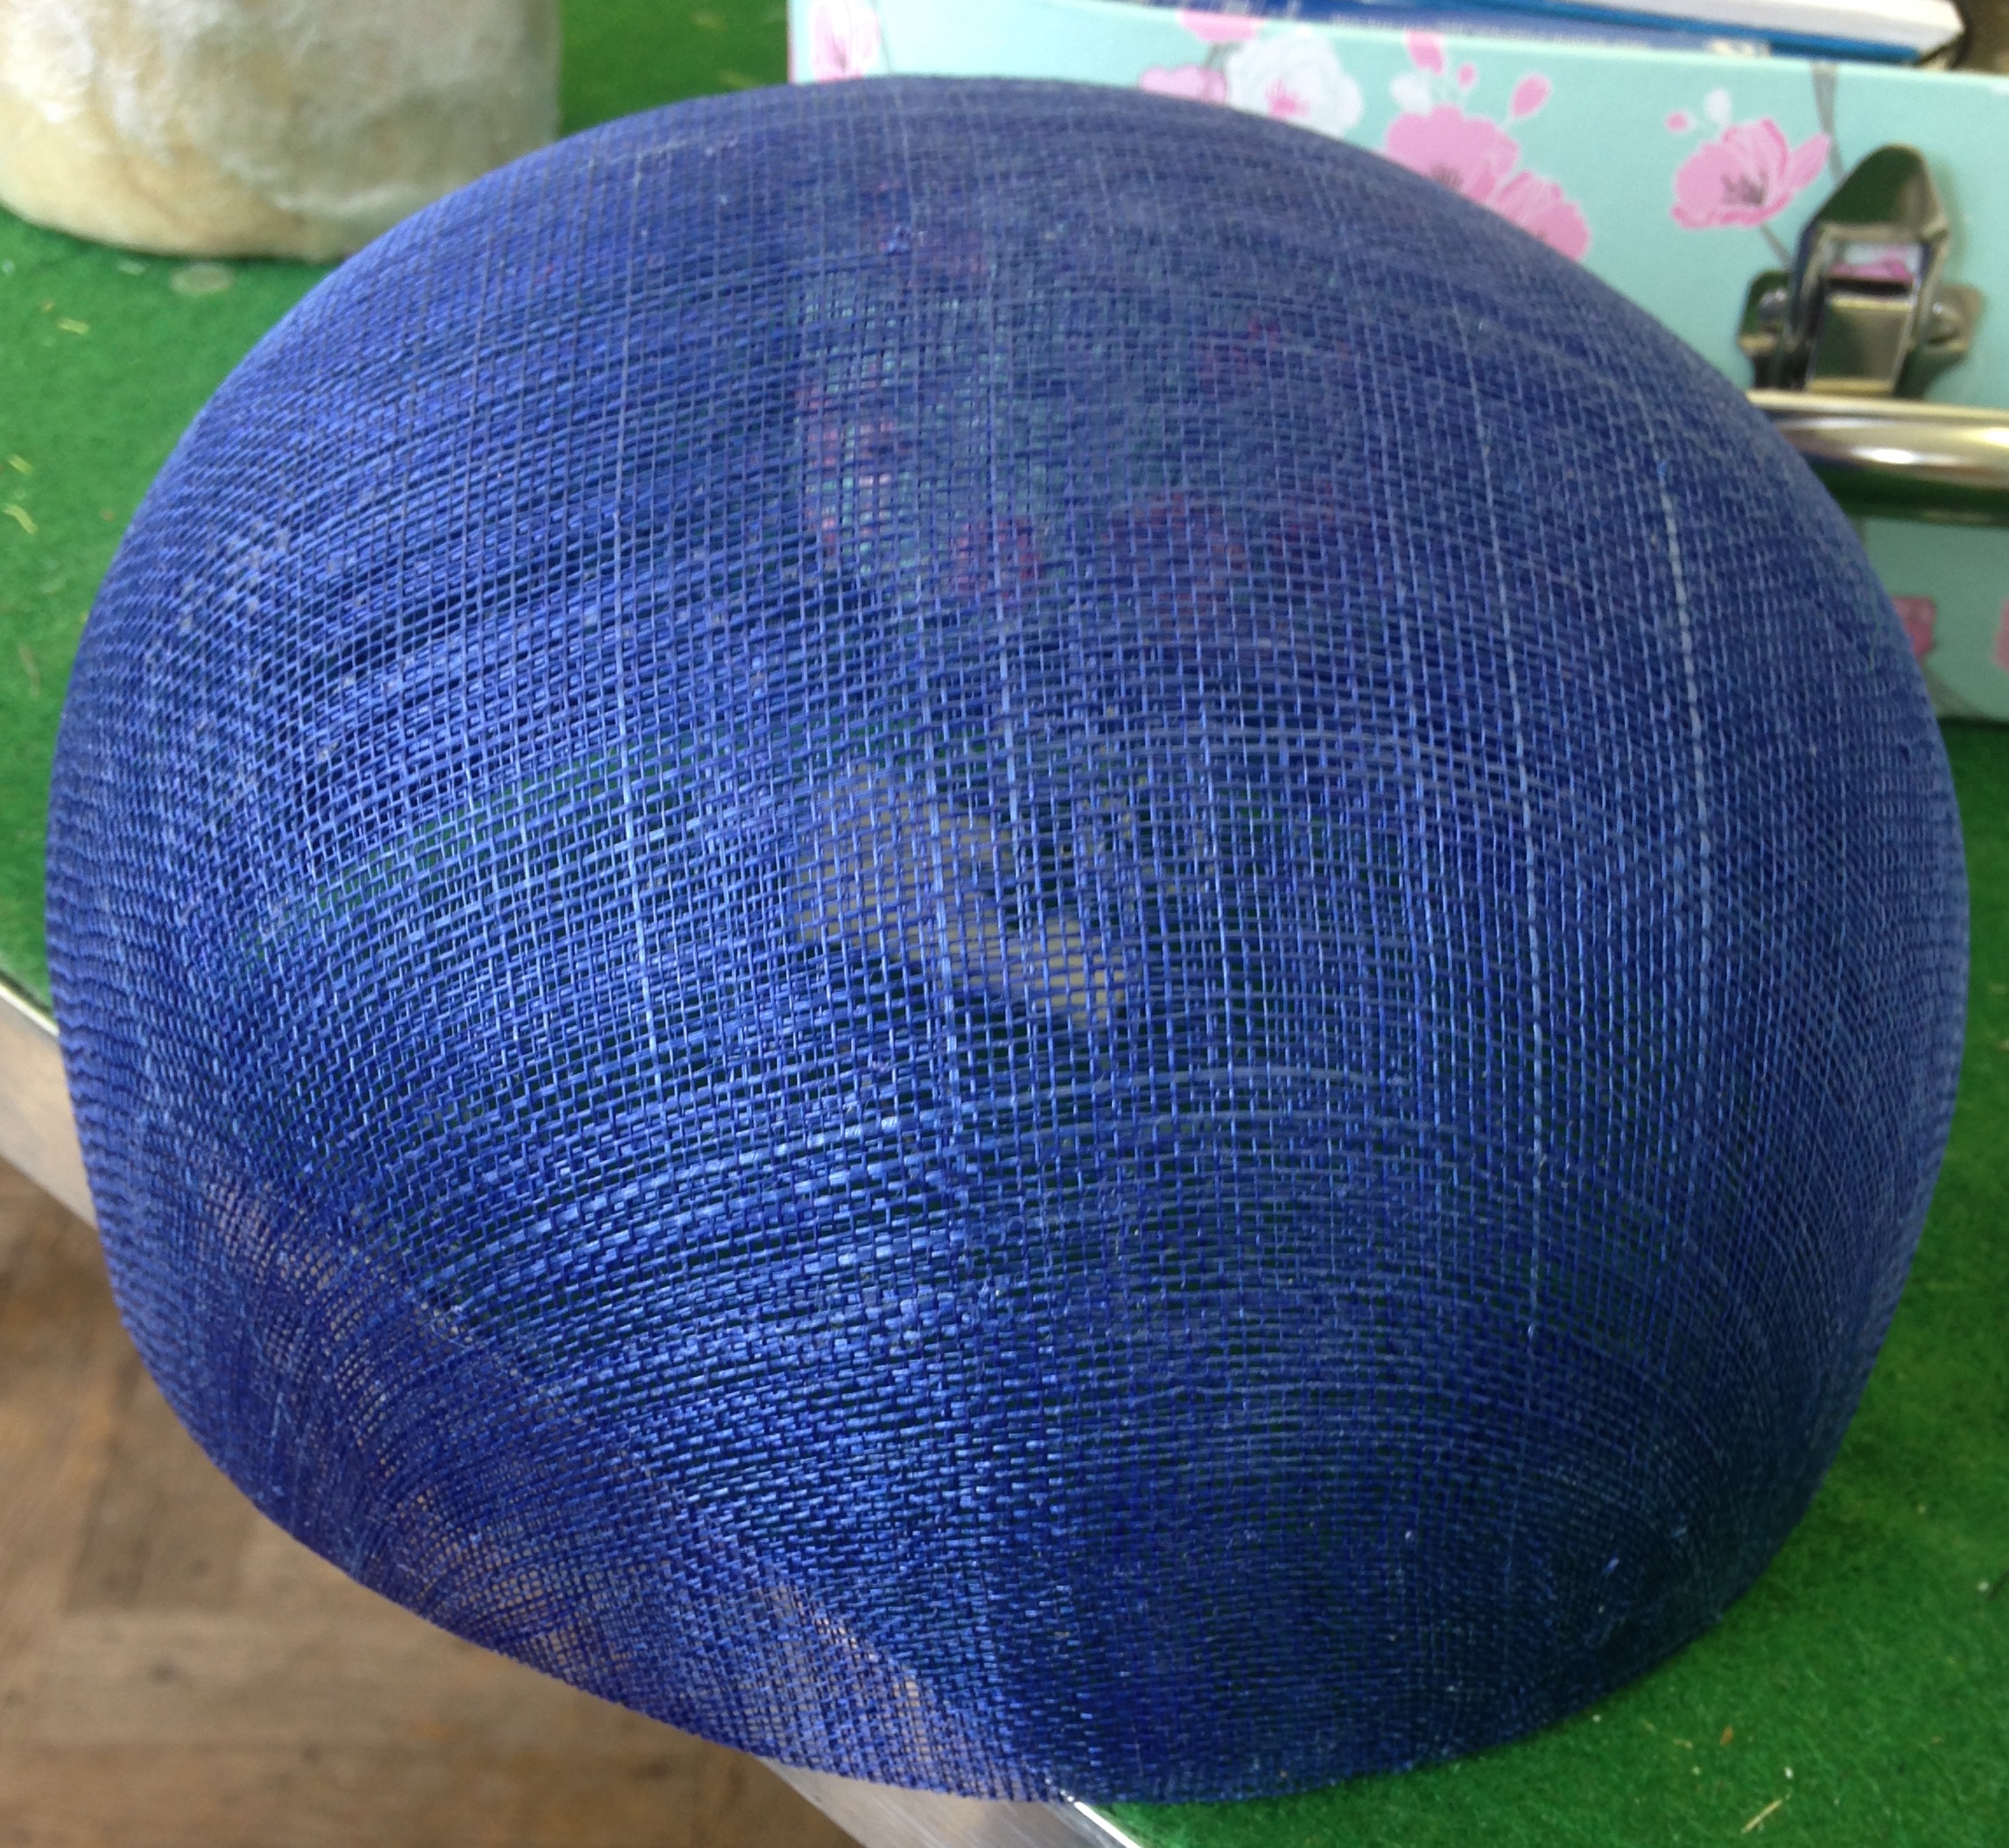
Step 10: Take 2 squares of Sinamay fabric (large enough to cover the dome block create the crown) and line up the grain – some milliners prefer to criss-cross the grains. Soak the fabric squares in the 3:1 water based stiffener for 5 minutes. Blot off excess solution with paper towels.
Step 11: Lay the fabric squares over the crown block and secure in place by first pinning the straight fabric edges. Work in North, South, East West direction. Roll a blocking spring onto the crown. Remove any creases by pulling the fabric on the bias. Leave to dry.

Step 12: Take the brim and removes the pins. Lift the brim off the block. Measure the circumference of the outside edge of the brim. Cut some strong (22 gauge) millinery wire 2 inches longer than this length.
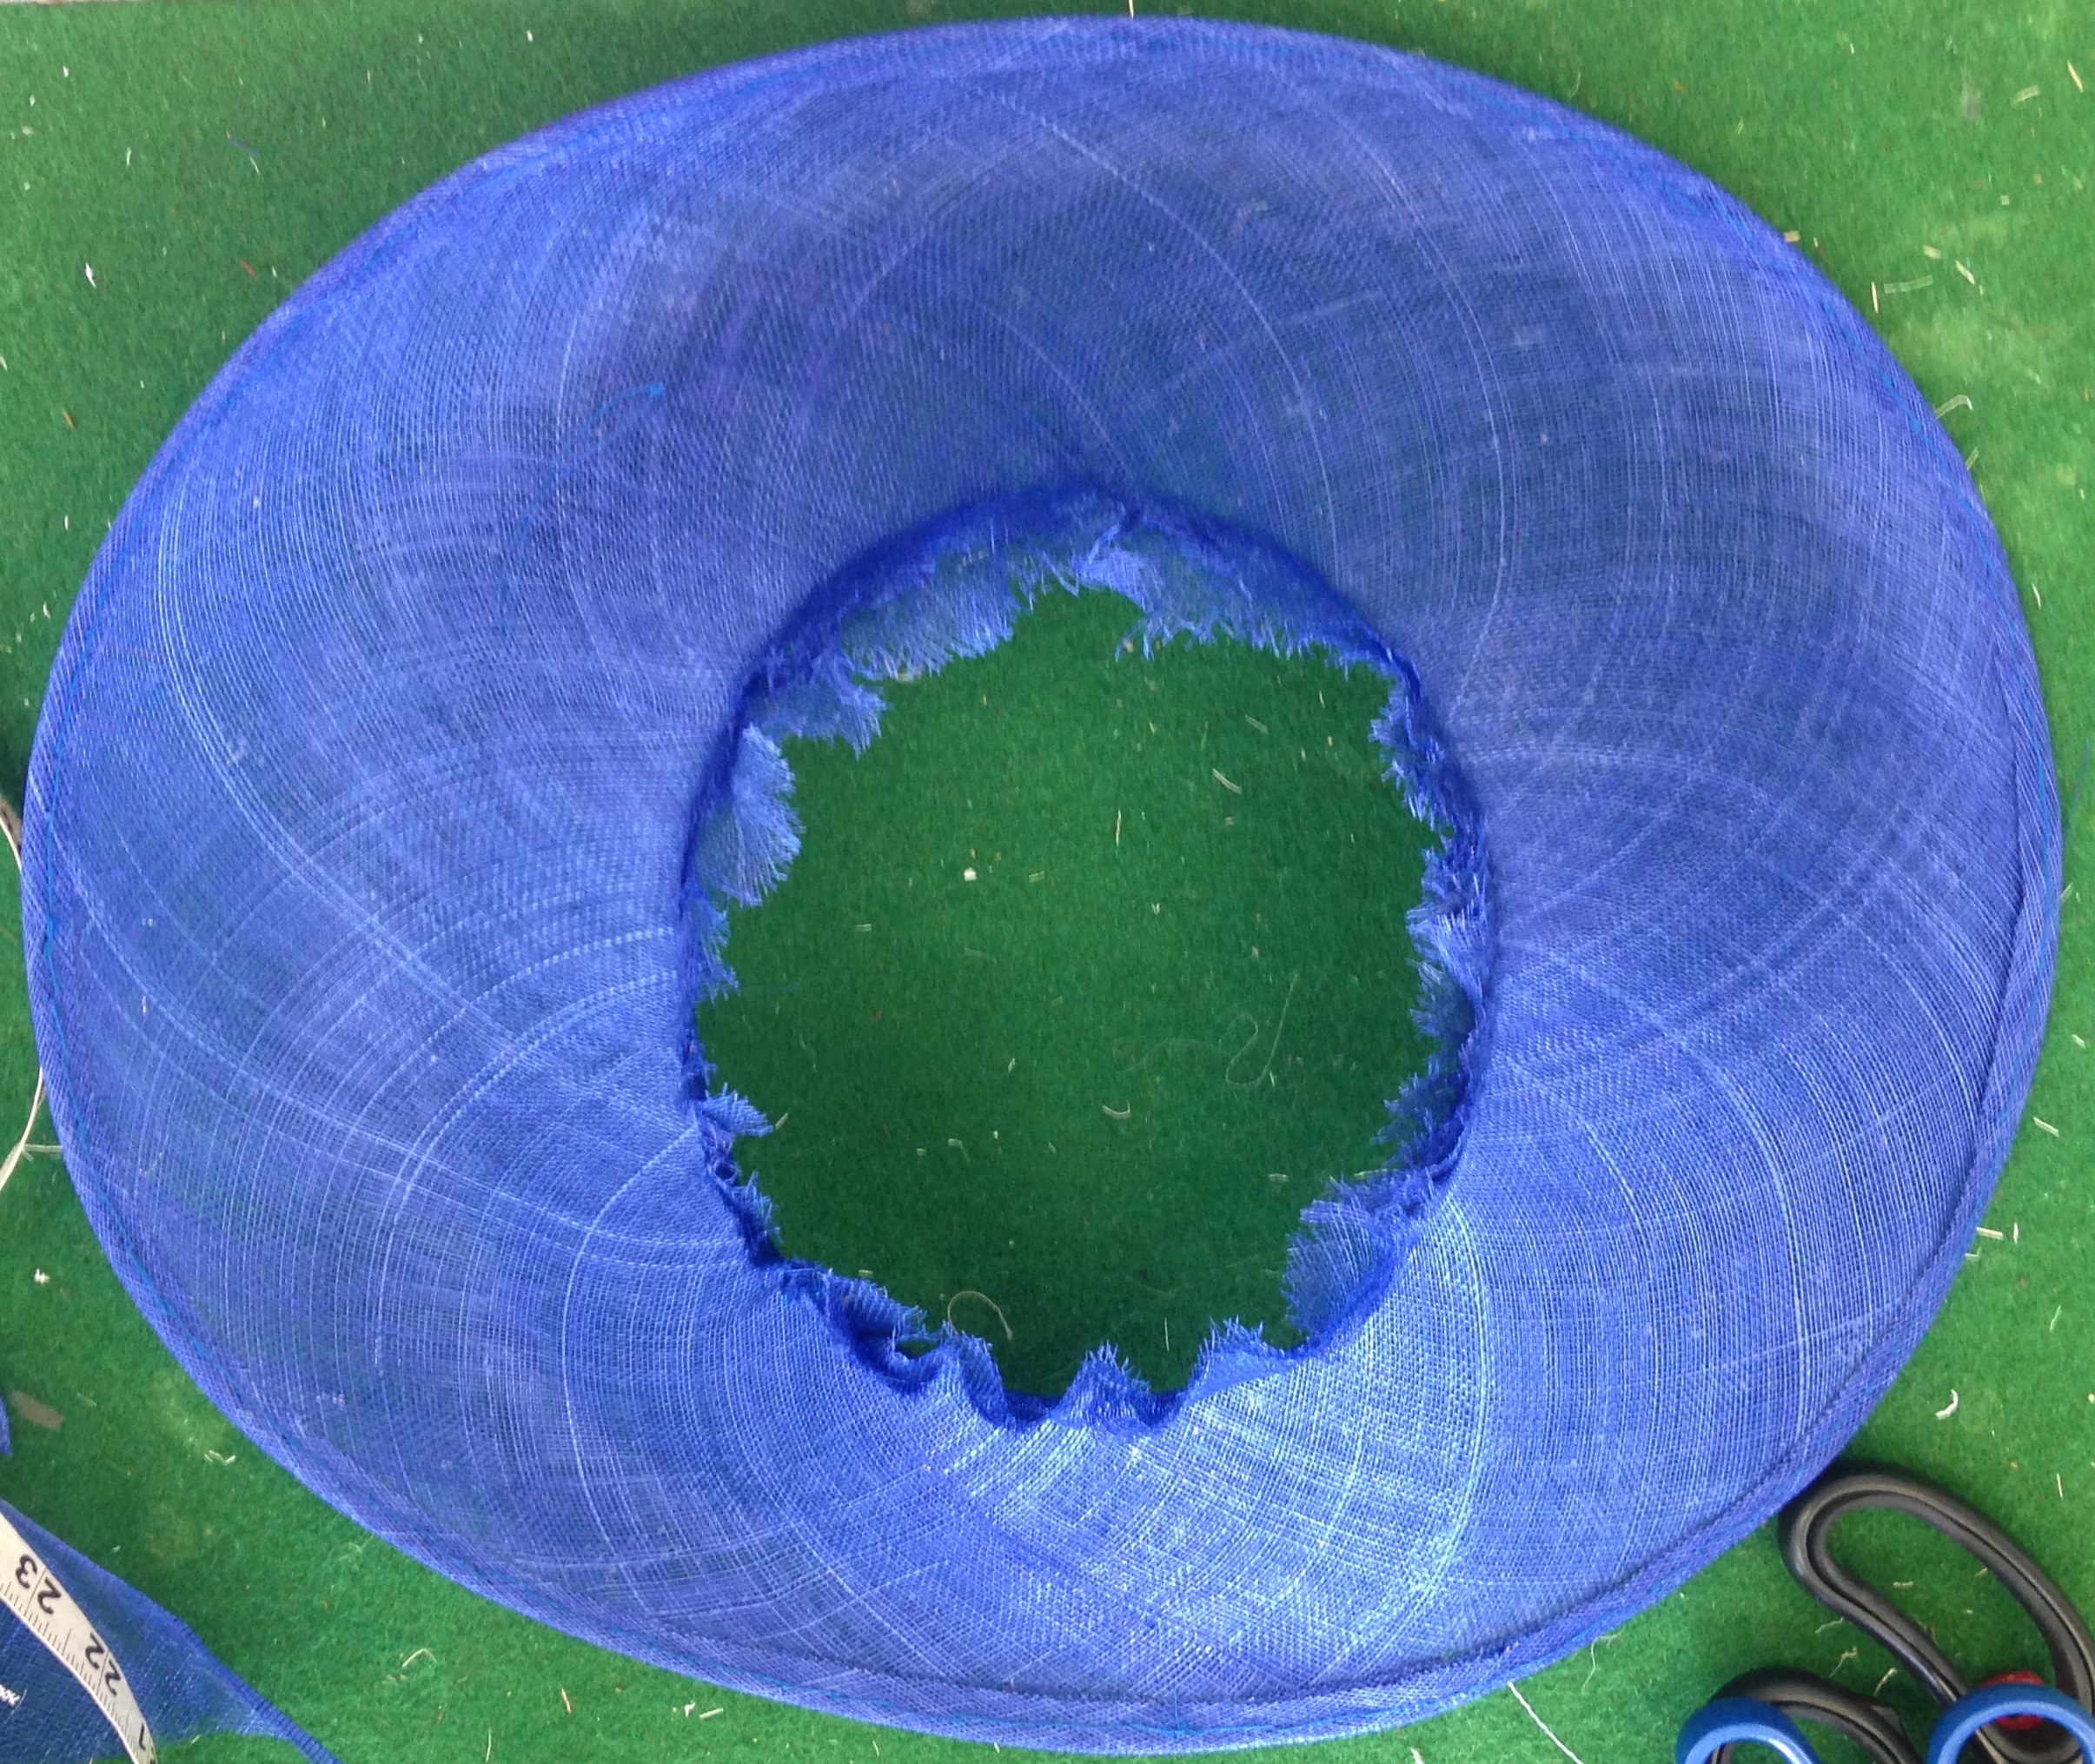
Step 13: Place the wire around the edge of the brim and join the ends with sellotape or a joiner. Fold the edge of the brim over the wire. Use a double thread to secure the wire inside the brim edge. I used a ‘short back, long forward’ stitch on the inside of the brim.

Step 14: Cut a 5 inch bias strips and wet in water. Place bias around edge of brim, pin overlap position and join edge on sewing machine.
Step 15: Lay the Sinamay bias strip around outside edge on top of brim. Machine stitch bias strip to the edge approx 1.5cm in from wire edge on the wrong side. It helps to align the machine needle to the left hand side and keep the right edge of presser foot on against the wire.

 Step 16: Fold the bias strip over the edge of the brim and tuck the raw edge under. Pin in place. Stitch in place with small stitches and double thread sliding the needle through the folded edge of the top layer as much as possible.

Step 17: Trim the inside top edge of brim to 1 inch above brim height. Cut the Petersham ribbon to size + seam allowance. Oversew the ribbon to join the edges at the correct distance (for me this is a standard head size of 22.5 inches). Pin the ribbon in place inside the top edge of the brim. Sew the Petersham ribbon to the crown with a stab stitch as close to the bottom edge as possible.


Step 18. Mark the centre front of the crown and remove from the block. Cut to your choose height. Pin the crown to the brim then join with ‘small back, long forward’ stitches to the brim behind the Petersham ribbon.

Step 19: Trim the hat. I’ve used rolled edge sinamay bias strips which are then folded in half.


I just need to add a flower and its ready to wear!

Thanks for sharing this is similar to how I’ve been taught a good memory jogger
Glad it helped. 😉
Your hat is just gorgeous! I wish I had the chance to take one of those classes. You are so lucky 🙂
I have a question. What water base stiffener do you use?
Thank you, I normally use a PVA based water stiffener as it’s less hazardous than the chemical ones.
Can I get materials to order
I order most of my supplies from millinery wholesalers in the UK – most have an online shop.
i love this, will try it
I like this. helps me get the various ways of doing the hat and those I didn’t know of.
You’re welcome.
This is intresting I would love to learn,could you be my mentor
Reblogged this on Isabella Josie and commented:
Where it started!
hi really cool
Thank you 🙂
Really beautiful, in Italy people start using hats like this only in the latest years, Can you please suggest me some Books and where to buy modelin blocks: Thank you. Lucia
I’ve brought vintage hat blocks from eBay and some new ones from specialist hat block makers in the Uk (where I’m based) such as Hat Blocks Direct, Guy Morse Brown and Boon and Lane to date. All of them have been good. I’ve brought a few books, but always want to know more. I’be just started up a website http://www.isabellajosie.com and will be posting my millinery how-to-make posts on that site in the future, so hope that will help. x
I too recently did a millinery course. It is great to have another version of how to make a sinamay hat to refresh my memory. Your result is beautiful. I have been using wooden bowls as blocks since I have a very small head and all the blocks were way too big. The problem we had was getting proper pins for attaching to the block. Do you have a good source?
Thank you so much. What course did you do? I always want to learn more! I’ve brought blocking pins from Guy Morse Brown, but am now using normal household pins too which you can pick up in most sewing shops. x
just started learnin how to make hats and i must say this is quite explanatory. all the way from Nigeria, i say a huge thank u. u are d best
Thank you so much for commenting – I’m going to start writing some more blog posts on millinery on my http://www.isabellajosie.com site so if you pop over there in the next few weeks you might find some more info. x
This is a gorgious hat! Could you tell me please where did you get this lovely brim block? Is your sewing machine only for hats or it’s a normal one? Really well done!
Hi Priscilla, the block was borrowed from Rose Cory, she has some gorgeous shapes. The machine is just a normal sewing machine. 🙂
this is beautiful.thanks for the details. can’t wait to try my hands on it.steps 14-16 are a little confusing to me.Can you please help?thank you
Hi Ama, The sinamay bias strip folds back onto itself. Imagine a piece of shop brought bias binding and how it looks when its unfolded. It’s a bit like that…
Please I’m not too clear with some of the steps.
Which steps would you like some more help on? Do you want to email me and I’ll see if I can help?m
Pingback: How to make a Buckram Hat Block | thestitchsharer
Lovely! The sweep of the brim is so dramatic, bet it will look even more amazing with its flower trim. I have never made a brimmed sinamay hat, thanks for posting such a great step-by-step. Makes me want to go back to Rose’s class again 😊
Thank you, maybe we’ll meet at Rose’s one of these days! Once I’ve made a flower I’ll post a photo so you can see how its turns out. x
Thanks for the detailed instructions. I must admit that I buy old hats from car boot sales and charity shops and refurbish or alter them rather than make a hat like this from scratch but it s good to see how they are made. I also want to make a cloche but probably from fabric although I hope to attend a workshop on blocking a felt hat next year.
I’m just making a cloche so I can post a guide if it’s helpful too?
Yes please! Not sure when I’ll get round to making it though. It might be in the autumn.
Will do, just finished making my cloche – I’ll post as soon as I can! x
Wow! Love it! I’d be wanting to attend a wedding every month I could make hats like that!!
Thank you, I’m loving making them. I just need to think up lots of occasions to wear them – or become very brave and start wearing them whenever I leave the house! x
Be brave! I love hats, but it tends to be just golf hats for me! 😃
I’ll try!
Simply stunningly beautiful and I shared!!
Thank you so much – its such an amazing craft and great to share. x
Oh WOW! What a AMAZING hat! So professional. You must be so pleased with yourself. What a lovely workshop to attend too. Have you plans to make more hats?
Thank you so much – I definitely want to make more hats. I’m making a felt cloche next. I’ve just ordered some brim blocks and can’t wait for them to arrive! x
Exciting. Look forward to seeing more beautiful hats 🙂
Thank you. x