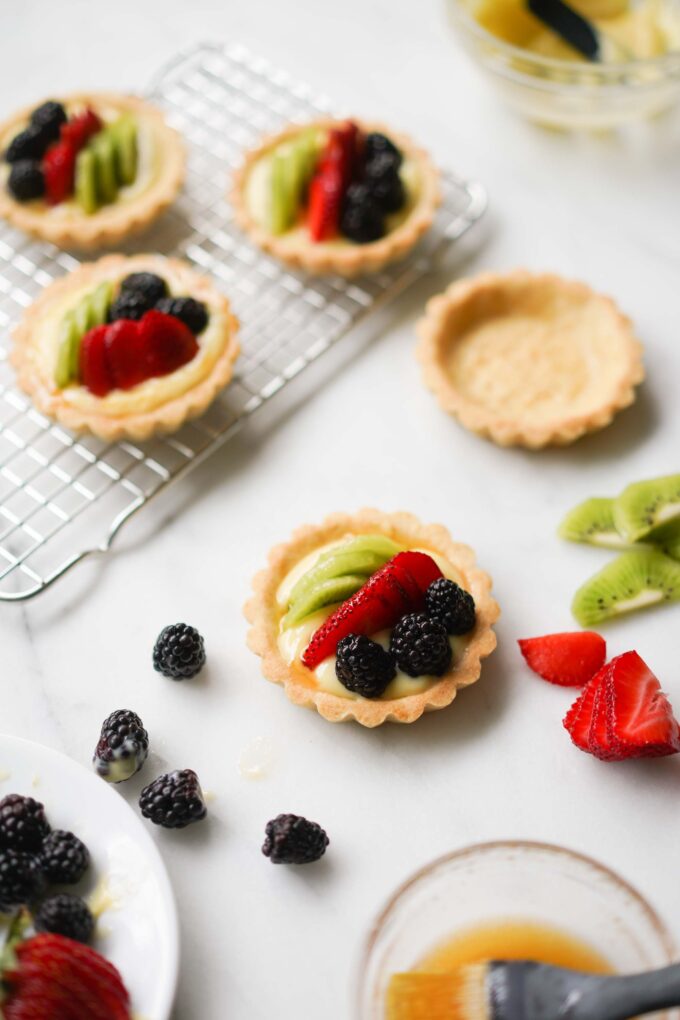
Fresh fruit slices and a sweet custard filling on top of a bite-sized cookie shell–these mini fruit tarts aren’t just beautiful, they’re delicious and refreshing. Growing up (and even now), fruit tarts were a big staple for birthday parties.
Maybe it’s because the use of fruit on top of sugary custard gave some semblance of a healthier treat, at least more so than frosting and cake, but nevertheless, it was a delicious option. With this mini fruit tart recipe I can prep tarts ahead of time and make up any excuse to celebrate at home!
Tarts vs. pies
Now don’t get these mini tarts mixed up with pies because they’re totally different foods. While both tarts and pies can have sweet or savory fillings, they differ in their crust. Pies have a crust that is thicker, flakier, and firmer–you add lots of fat to this crust. Tarts are made with delicate, shortbread-like shells that are baked ahead of time and then assembled with the desired fillings, like fresh fruit.
These fruit tarts also differ from egg tarts that are popular in Asian bakeries and dim sum restaurants because the egg tarts have a flakier crust.
Tart dough
Tarts have a basic assembly of a shell and a filling. The beauty of tarts and mini tarts is that you can often prepare either of these items ahead of time, and this recipe is no different. To make the mini tart dough, you need a stand mixer with a paddle attachment to mix together the flour, salt, sugar, and butter.
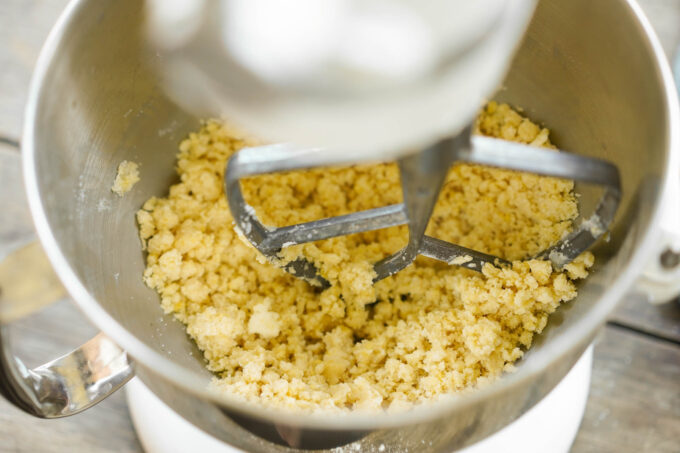
Once these are combined, add the egg yolks, vanilla extract, and heavy cream and mix until combined. The mixture should have a sandy texture and almost look too dry. Test the dough by pinching some of the sand in between your fingers. If it forms a dough, then it’s ready. If it’s too dry, you can add one tablespoon of heavy cream until it forms a dough.

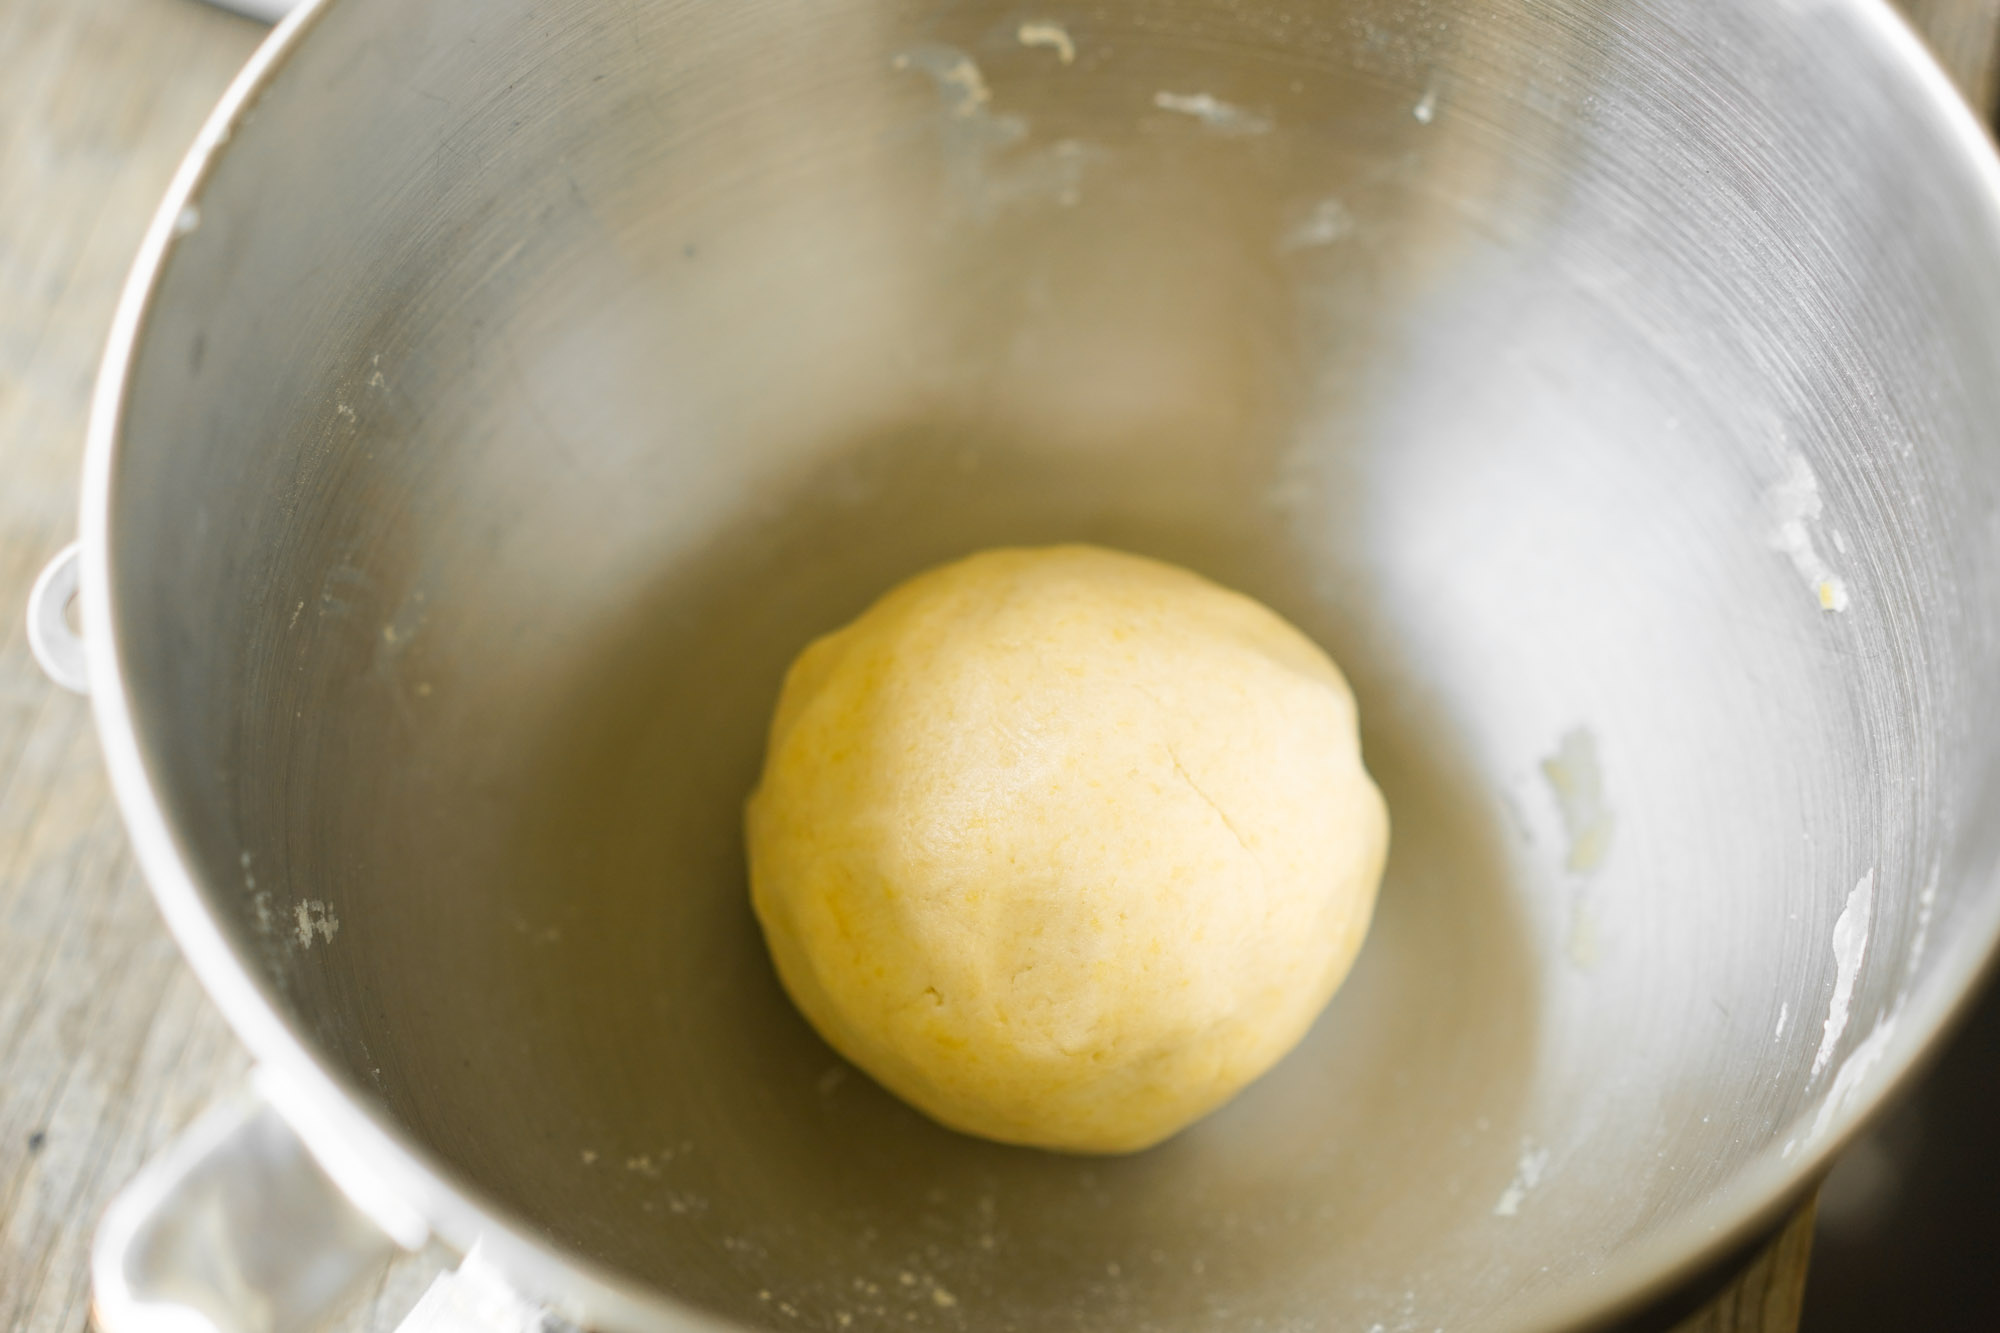
Remove the mixing bowl from the stand mixer and use your hands to form it into a ball of dough. It should hold its shape, but is also pliable.
Tart molds and baking
For the mini tart shells, there are traditional tart shaped molds you can use (those that have scalloped edges, you know what I’m talking about). I’m using four inch tart molds to make this recipe. But not everyone has an option for these specific molds at home, so you can use cupcake tins, just make sure you need to adjust the amount of dough per mold.
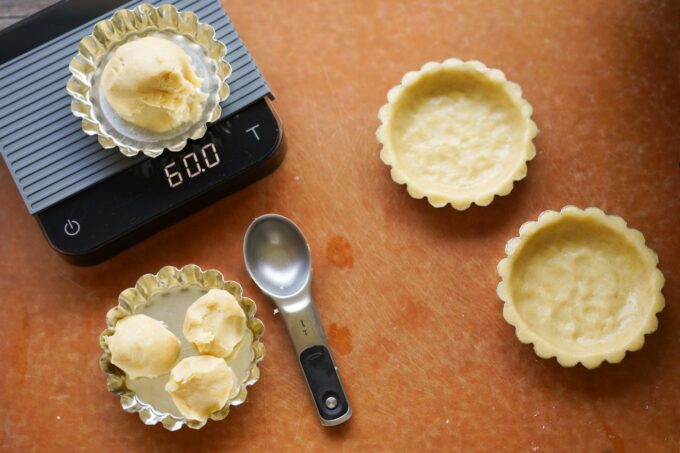
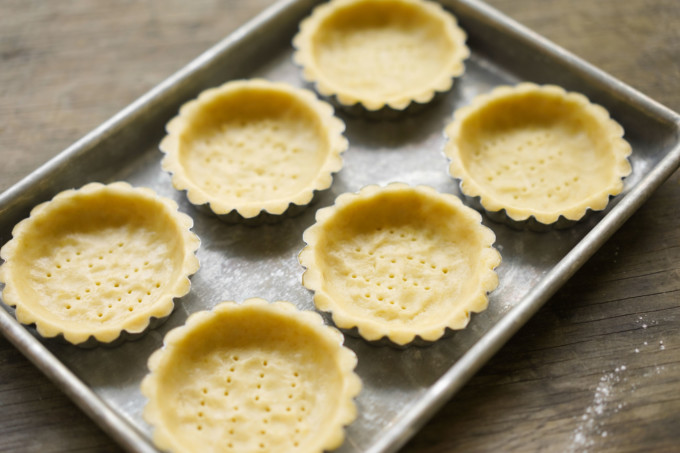
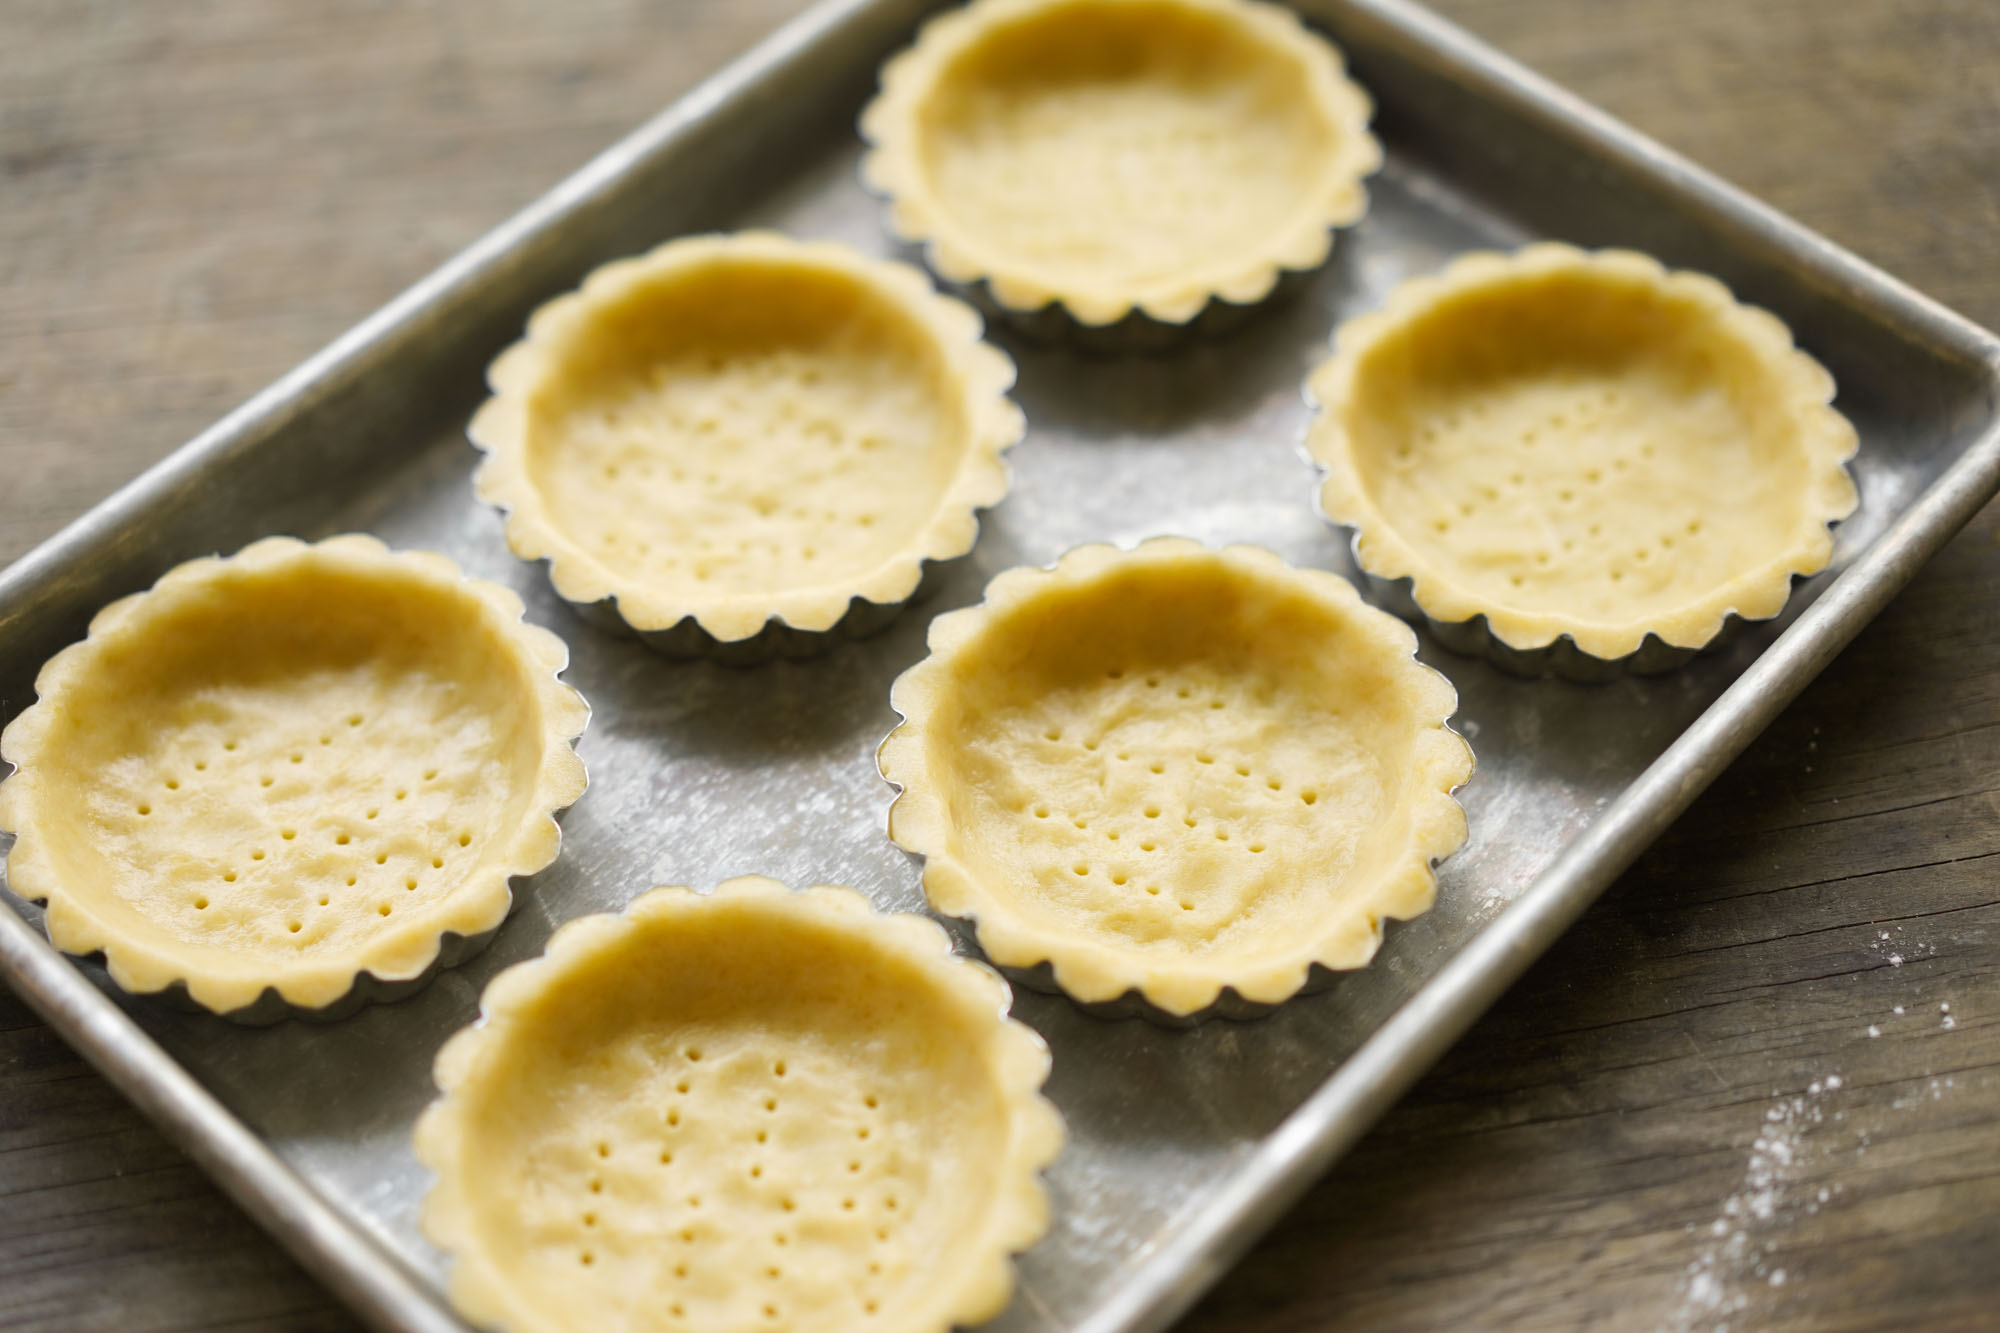
I like to add the dough into the tart mold;, I scoop three tablespoons or 60 grams of dough and place directly into the tart molds. Use your fingers to press the dough evenly throughout the mold.
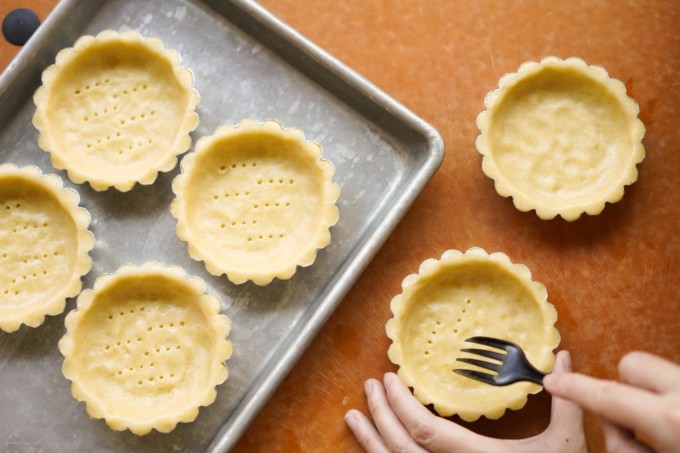
After all the dough is in the molds, use a fork to poke the bottom of each tart. This will prevent the middle from puffing too much. Place the molds in the freezer and chill for at least one hour.
Preheat your oven to 375 °F and then place your mini tart molds in the oven. Bake these for 12-15 minutes. At about eight minutes, check the tart shells to see if the centers are rising. If they are rising, you can use a measuring cup to slightly press them back down.
Another way to prevent the centers from rising in the oven is blind baking. You can blind bake these tarts by placing parchment paper on top of the shell and adding dry beans over the center section of the parchment paper. I don’t prefer the blind baking option because it was harder to gauge the edges browning due to the parchment paper and I found I needed to bake them slightly longer to get a harder crust.
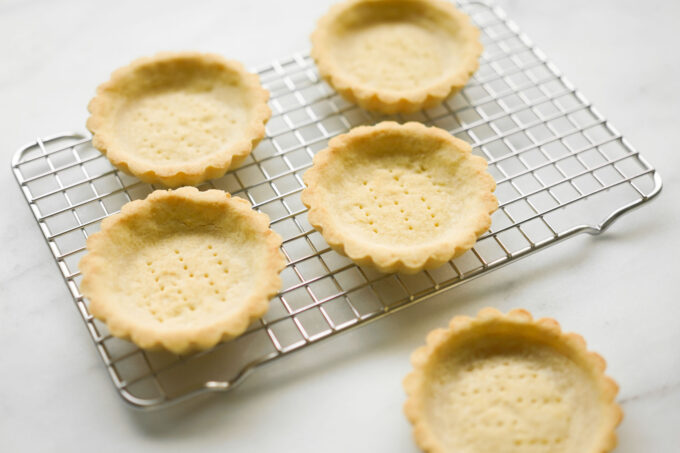
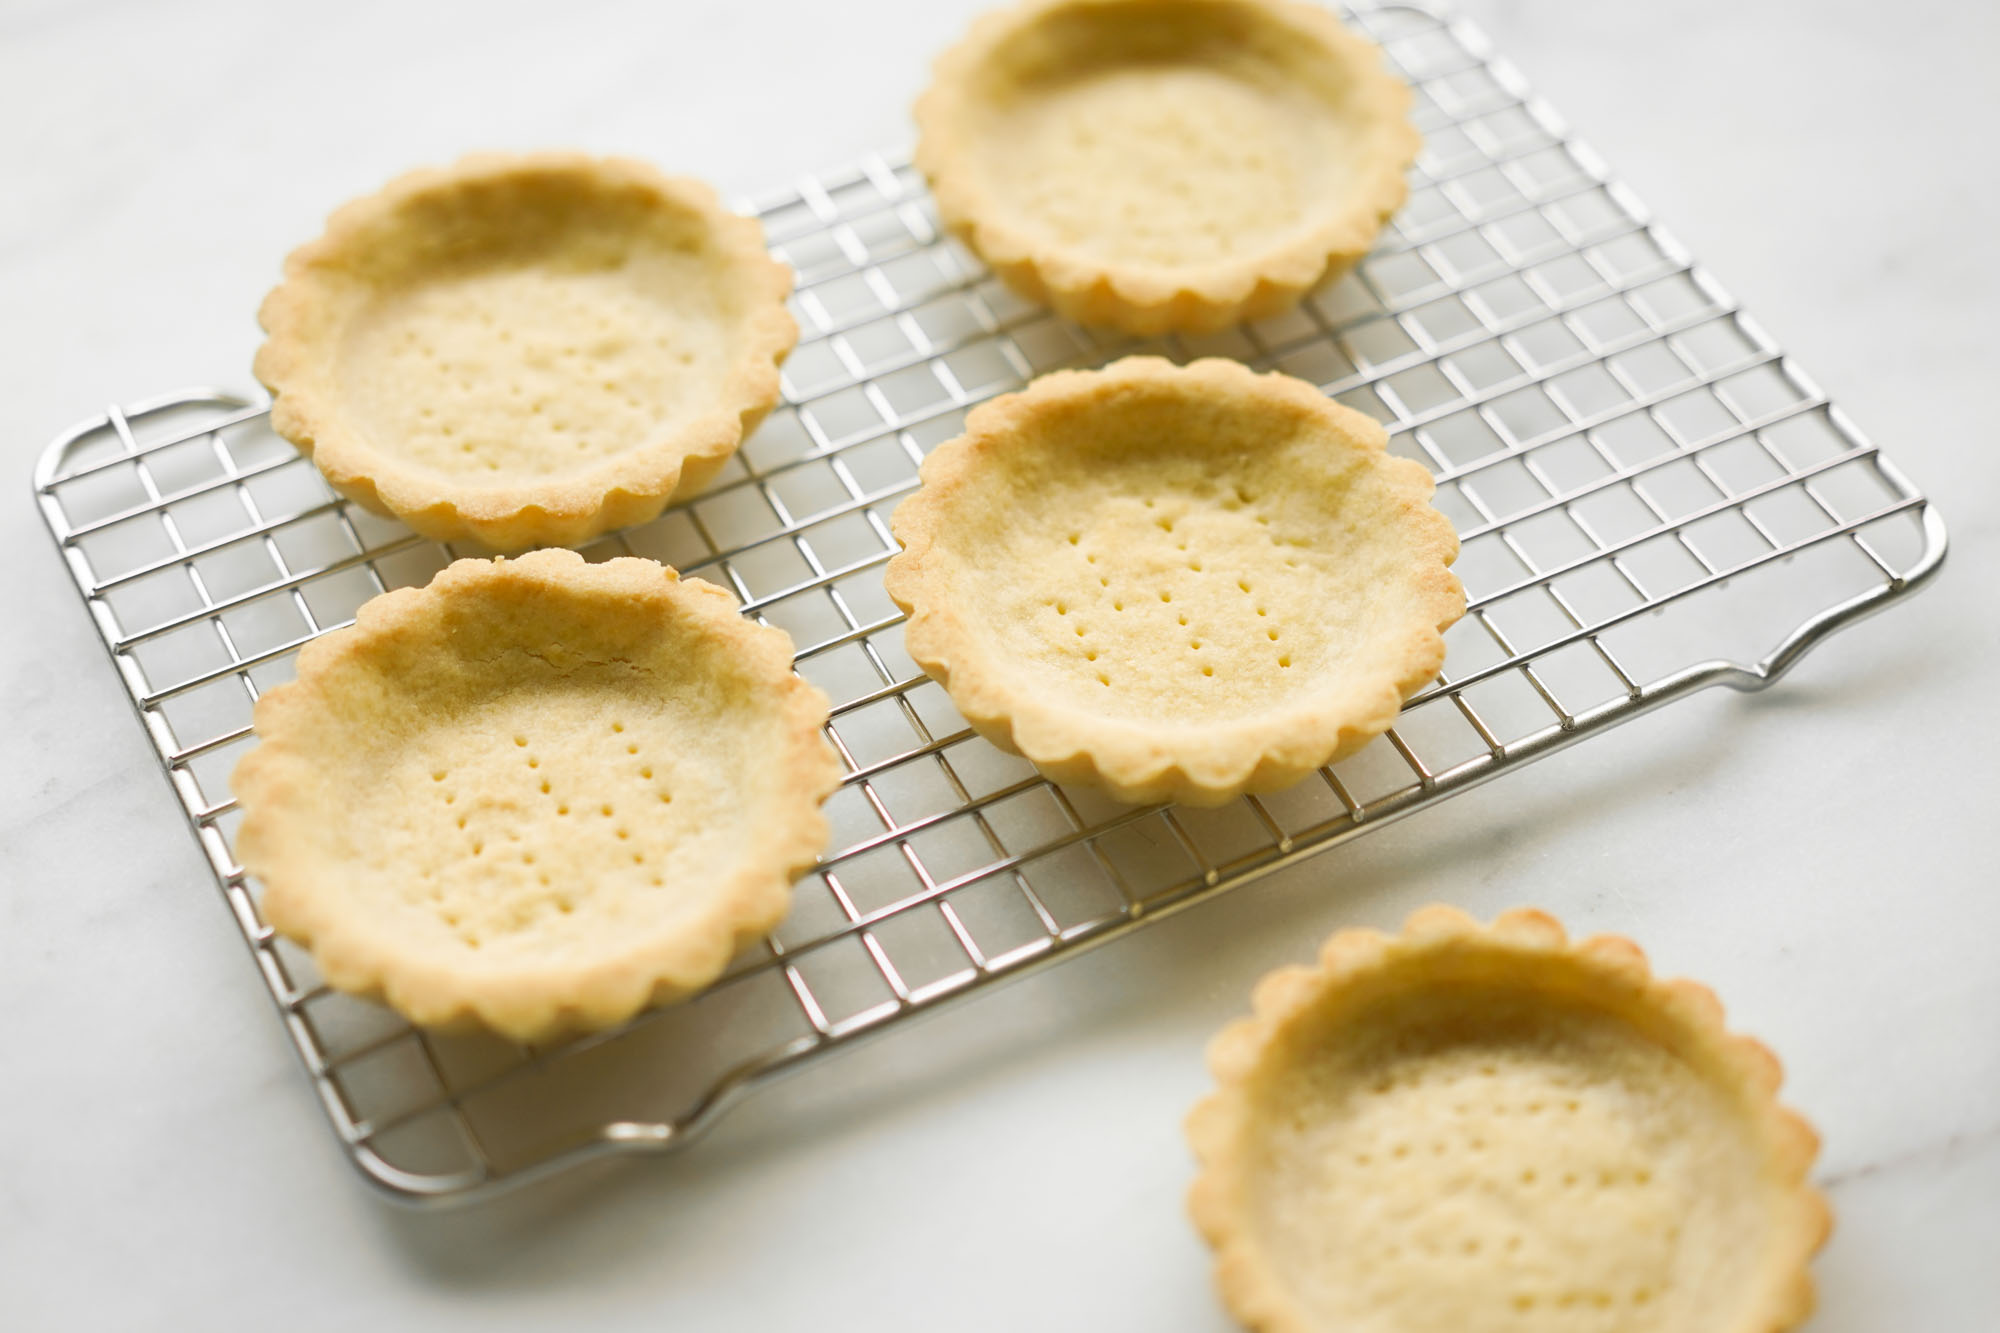
The tart shells should be done baking once the edges begin to slightly brown. Carefully remove them from the molds and rest the tarts on a cooling rack. If you make these a day ahead of time, you can place them in an airtight container in the fridge until you need to assemble.
Custard filling
Fruit tarts typically have a traditional custard filling that is thick and eggy to hold up the fruit on top. I like to adjust the texture and amp up the flavor by making it a bit lighter by adding whipped cream.

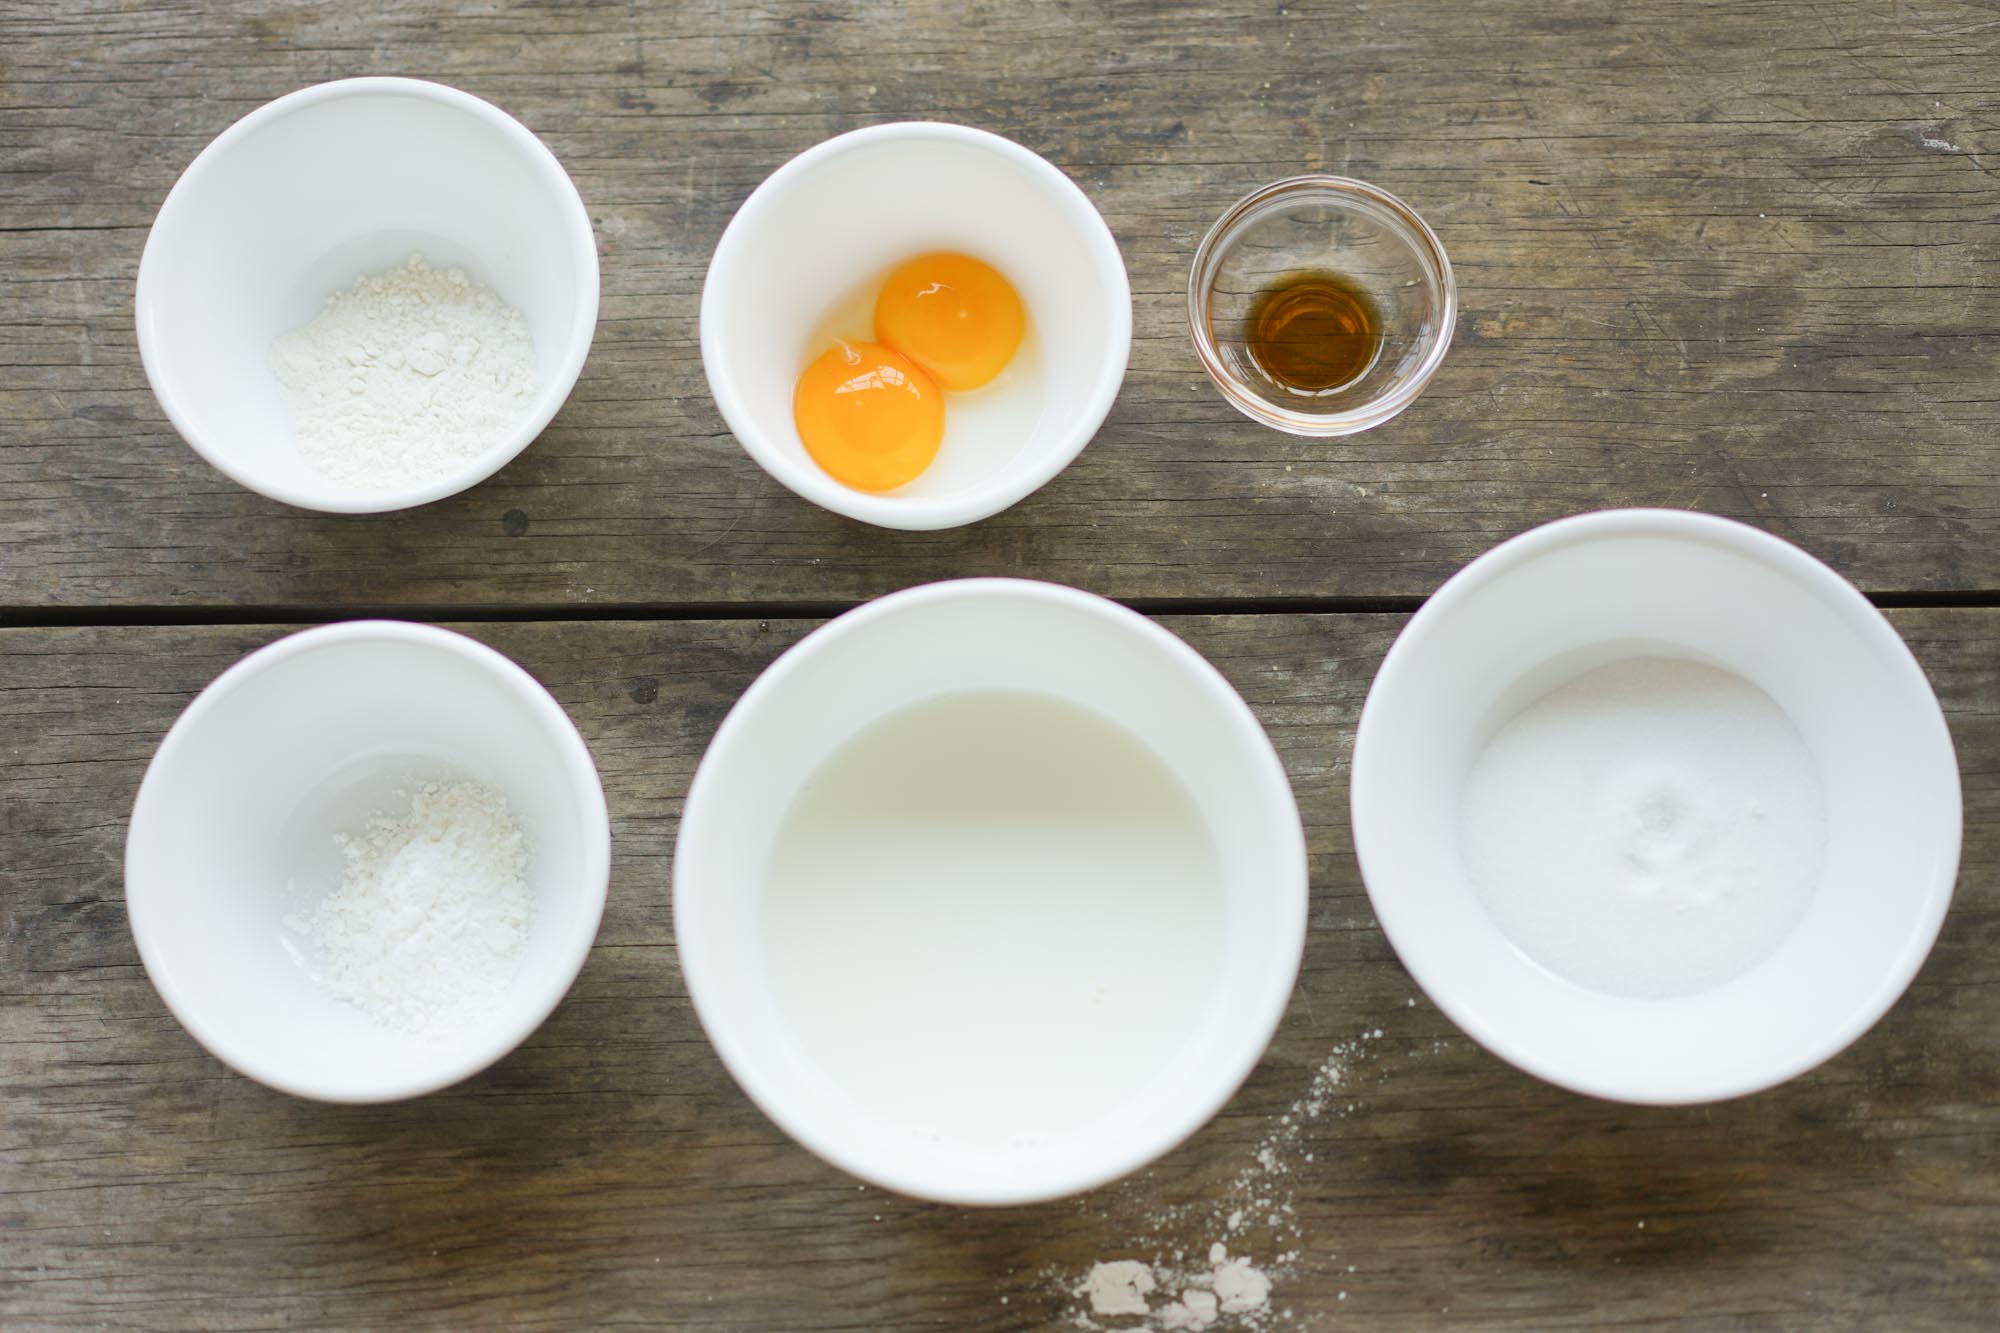
In a mixing bowl, whisk together the eggs and sugar. Then sift the flour and cornstarch into this mixture and combine thoroughly. Whisk the milk and vanilla into the bowl. In a saucepan over medium heat, add the filling and continue to whisk thoroughly. The filling will begin to heat and thicken sporadically in the pan, so you need to whisk it constantly.
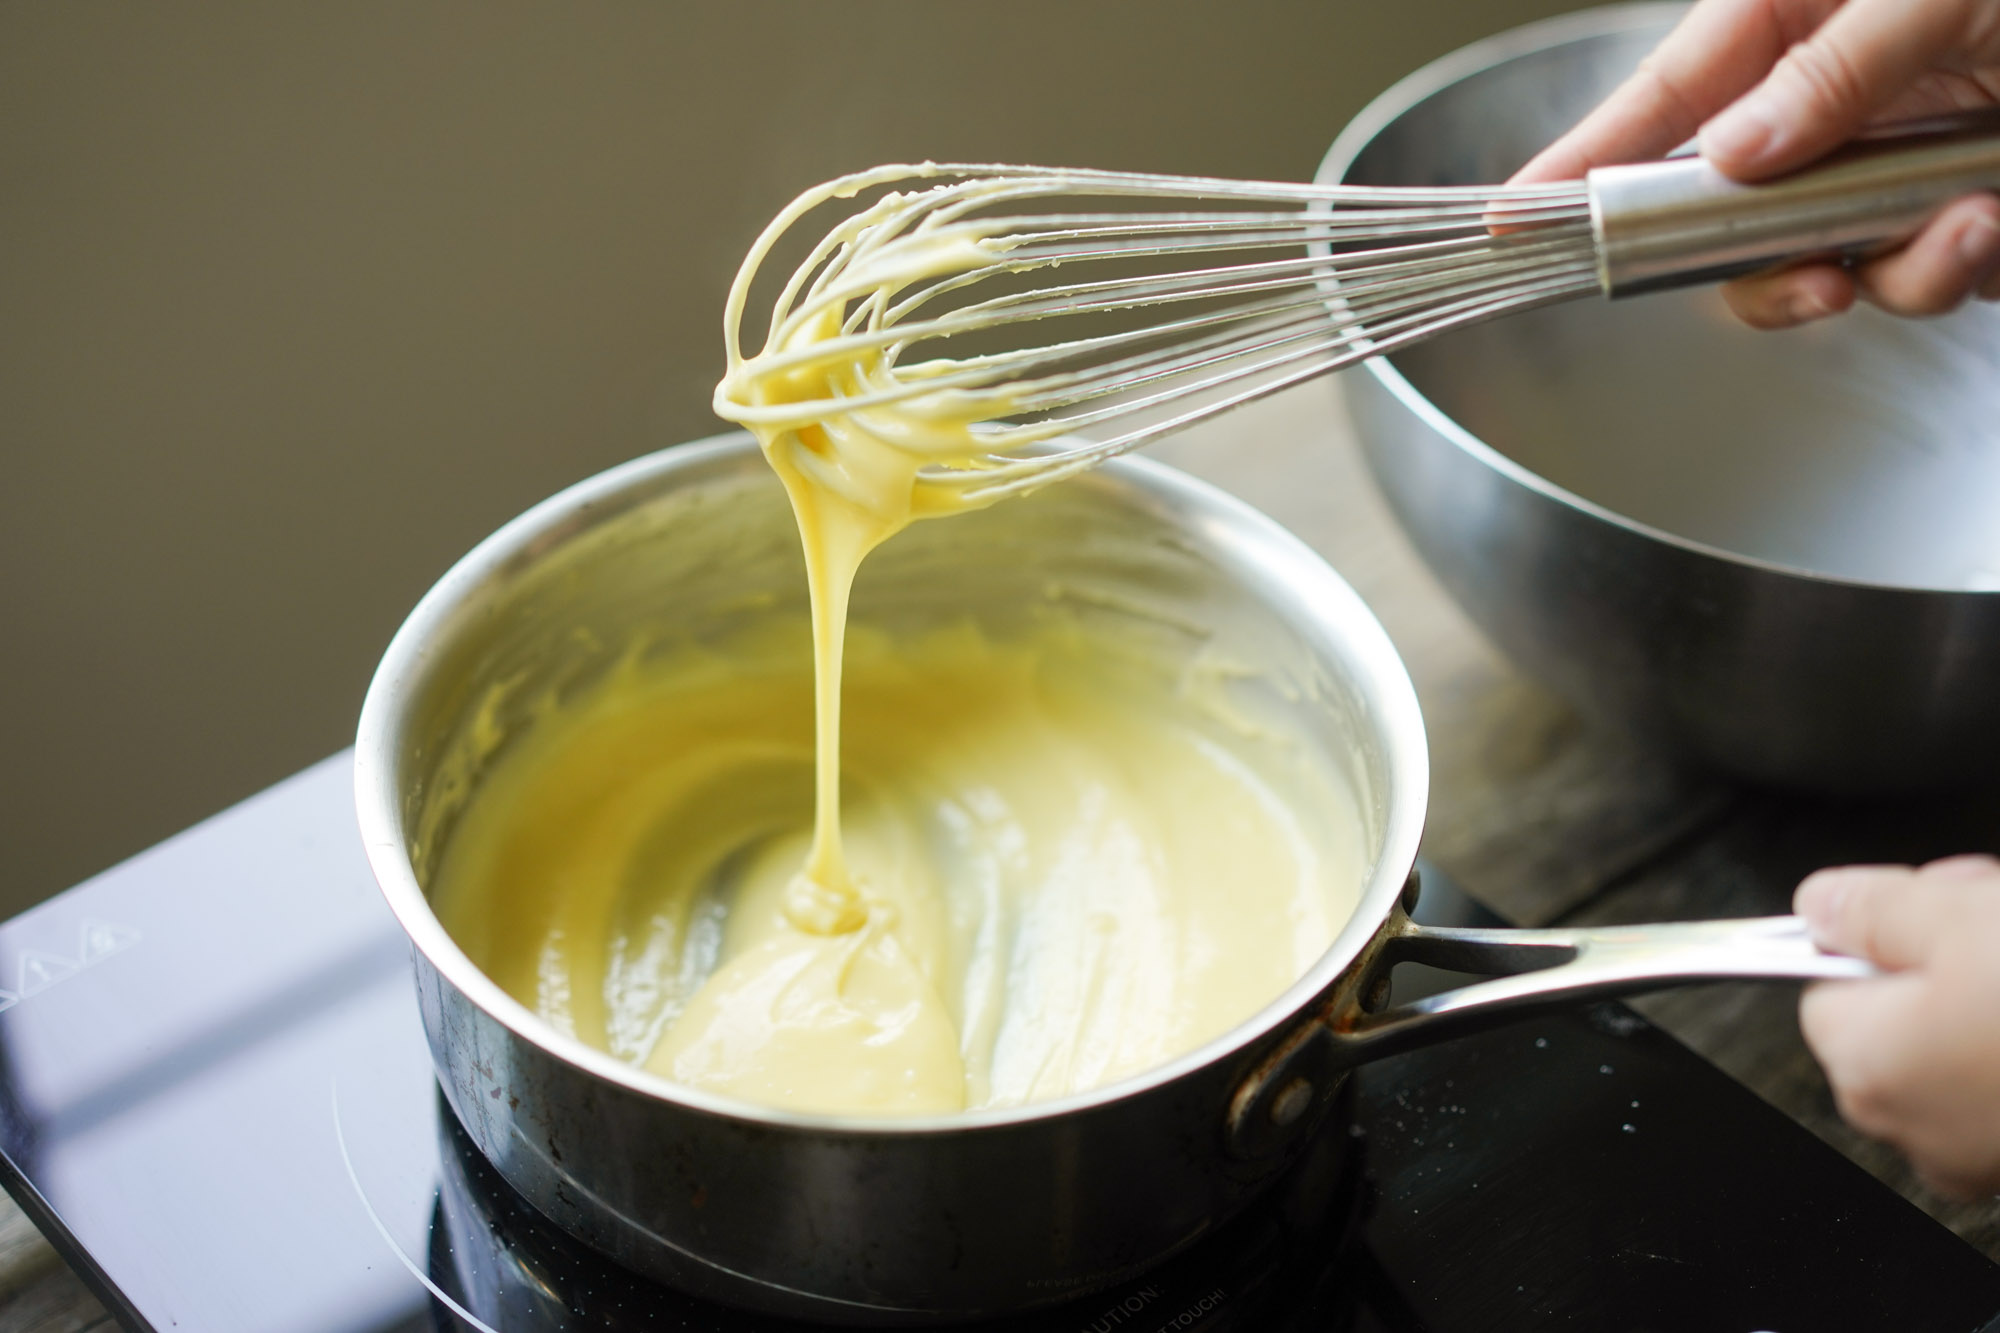
Constantly whisk the liquid, so that the custard forms gradually over a few minutes. You don’t want to make scrambled eggs. While many cooks will say it will boil, I didn’t experience this and immediately saw thickening occur in my pan (if you tilt your pan, you may see little globs of opaque spots at the bottom of the pan). I would suggest constantly whisking and moving your pan away from the stove if you think it’s heating up too fast.

Your custard should have a similar consistency as thick pudding by the time it’s finished cooking. This process is also dependent on the strength of your stove, but from start to finish this process took about one to two minutes. Once your custard is finished, place it to cool in a glass container on the counter and then fridge until assembly so it’s nice and thick.
How to choose fruit
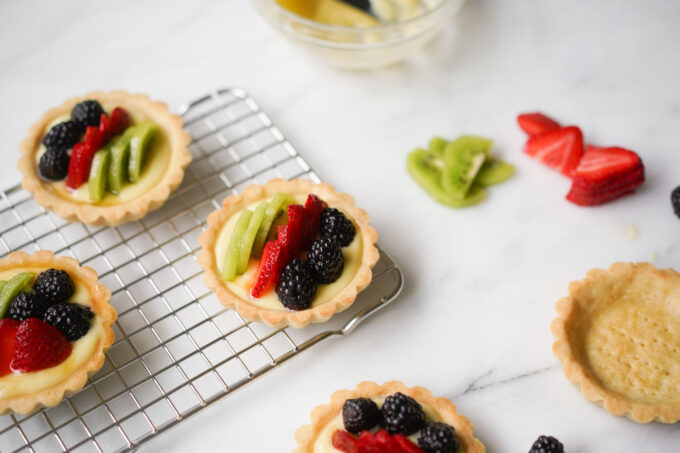
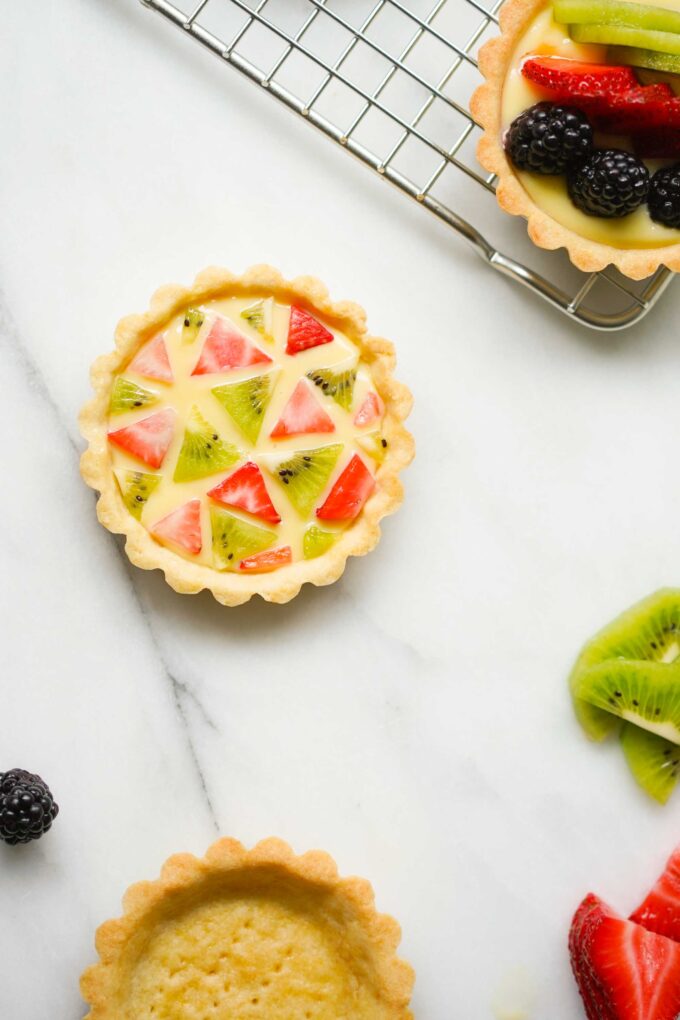
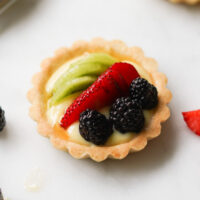
What I love about mini fruit tarts is that they are cute, but also beautiful because of the amazing colors from the fruit arrangements. My favorite ripe fruits to pick are strawberries, blackberries, and kiwis! This part of the fruit tarts are completely customizable and you can choose whatever fruit you like. Just make sure to slice the larger fruit into smaller pieces for easier assembly.
Fruit glaze
Have you ever seen fruit tarts sold in stores and notice they have this beautiful clear sheen to them? Make no mistake, that sheen is definitely more than just moisture! It’s actually a glaze that not only makes them pretty, but it helps keep the fruit from drying out.
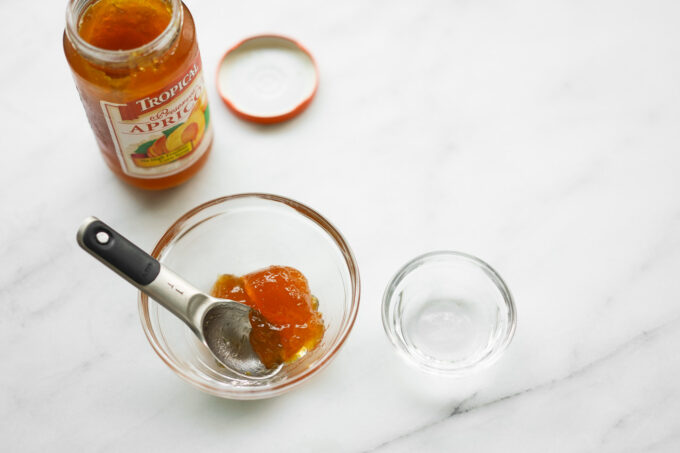
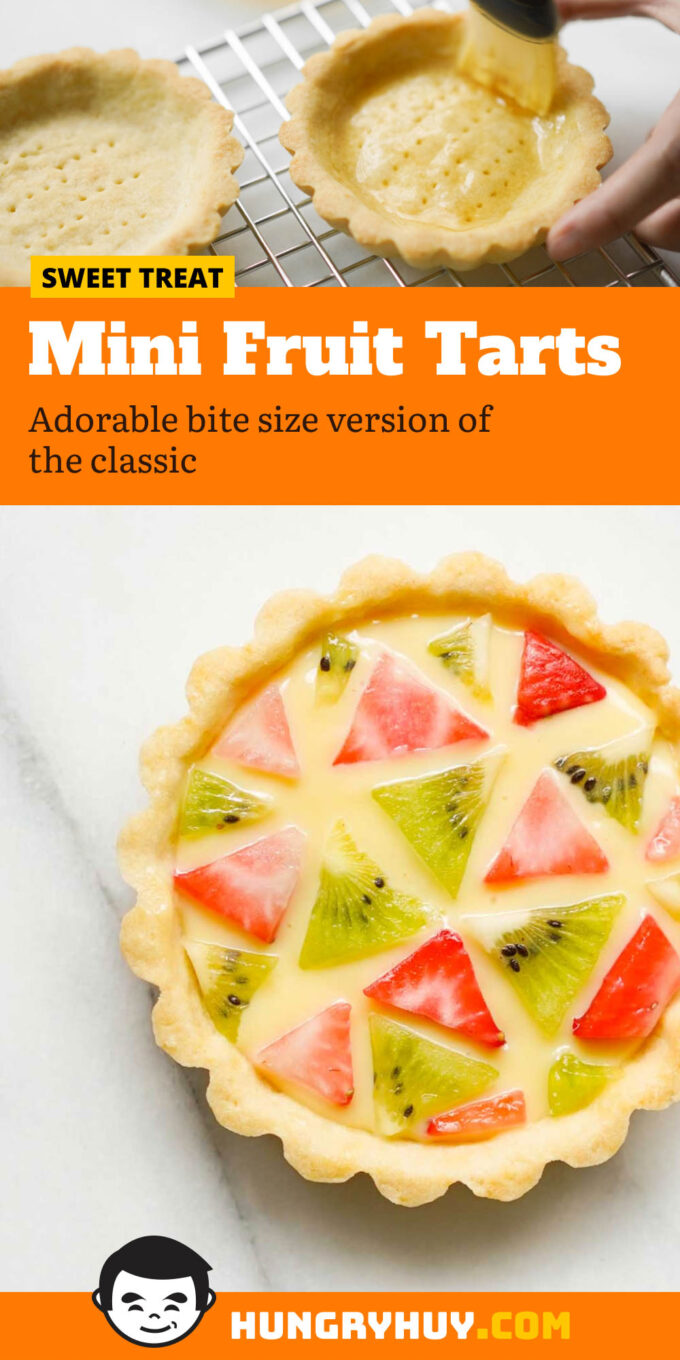
For my glaze, I use one part apricot (or other light-colored) jelly and one part water. You want to microwave this mixture for about ten seconds and then stir together. Strain the mixture to get a smooth texture and then brush the glaze on top of the fruit. One tip that I got from Joy of Baking is to use the glaze on the bottom of the tart shell to prevent it from sogging when you add the filling.
How to assemble
When you are ready to eat delicious mini fruit tarts, assembly is the easiest and funnest part! To add your filling into your tarts, you can put the filling into a pastry bag and carefully arrange it this way, but I prefer using a spoon to scoop it in. Fill to about ¾ of the way up to allow room for your fruit.
Then, arrange your fruit on top of the whipped custard filling and brush on some of our nice and sparkly glaze. You can serve your fruit tart immediately, but you can also chill it in the fridge for about twenty minutes to eat them with a nice cool temperature.
Can fruit tarts be made ahead of time?
Fruit tart shells and fillings can be made ahead of time and then assembled before serving. You can keep the shells and fillings in the fridge before assembly.
How do you keep fruit tarts from getting soggy?
Use the glaze topping to prep your tart shells before assembling. The glaze will act as a sort of shellac to prevent soggy bottoms!
Mini Fruit Tarts
Ingredients
Dough
- 225 g or 1 ½ c & 1 tbsp all purpose flour
- 1.5 g or ½ tsp salt
- 80 g ½ cup, 1 tbsp and 1 tsp powdered sugar
- 115 g or 8 tbsp unsalted butter cut into cubes
- 2 egg yolks
- 2 ml or ½ tsp vanilla extract
- 12 ml or 1 tbsp heavy cream
Custard filling
- 4 egg yolks
- 68 g 5 ½ tbsp white sugar
- 24 g or 2 tbsp and 2 tsp all purpose flour
- 24 g or 2 tbsp and 2 tsp cornstarch
- 376 ml or 13.28 oz whole milk
- 4 ml or 1 tsp vanilla extract
Assembly
- Assorted fresh fruit sliced
- 2 tbsp apricot jelly or other clear jelly
- 7.5 ml or 1 ½ tbsp water
Instructions
Dough
- In a stand mixer using the paddle attachment, combine the flour, salt, sugar, and butter. Mix on the lowest setting until the butter gets broken down into smaller pieces, about one minute of mixing. Add the egg yolks one at a time, then add the heavy cream and vanilla extract.
- Mix on medium (setting 4 or 6) for about two minutes or until the mixture begins to look like crumbly sand. Test the dough by stopping the mixer and pinching some sandy dough between your fingers. If it sticks to itself and forms a piece of dough, you’re ready to knead. If it’s too dry, try adding one tablespoon of heavy cream at a time to adjust. (See image for how final dough consistency should be after mixing.)
- Remove the mixing bowl from the stand mixer and use your hand to form the sand into a ball of dough. I like to do this in the bowl because it’s less of a mess.
- Scoop about three tablespoons of dough and use your hands to mold and flatten the dough straight into the tart molds. (Three tablespoons is about 60 grams of dough for a four-inch tart mold).
- Use a fork to prick throughout the bottom of each tart mold.
- Chill the tarts in the molds in the freezer for at least one hour before baking, this will prevent the dough melting too much or shrinking in the oven.
- Preheat the oven to 375°F.
- Take your tarts straight from the freezer to the oven and bake for 12-15 minutes. TIP: At around 8 minutes, check on your tarts to see if their centers are rising. If they are rising, you can open the oven and use a measuring cup to flatten the centers with a tiny bit of pressure. Continue to bake them until you see the edges begin to brown, then remove from the oven.
- Remove the tart shells from the molds and cool them on a rack. The finished shells should be slightly hard to the touch. If you press the centers and they feel soft or there is some flex when you hold them up, they need to be placed back in their molds to continue baking for a few more minutes (make sure to watch these as they finish cooking).
- These tart shells can be pre-made a few days before assembly, just make sure to fridge them after they cool.


Custard
- While your tart shells are chilling in the freezer, you can make the custard. In a mixing bowl, whisk together the egg yolks and sugar.

- Sift together the flour and cornstarch. Whisk in the sifted flour and cornstarch to the egg yolk mixture.
- Add the whole milk and vanilla extract into the egg yolk mixture.
- Move the custard mixture into a saucepan over medium heat and constantly whisk for about one to two minutes or until it begins to thicken. TIP: You will begin to see little thick specks of custard on the bottom of the pan as it begins to thicken. Do not stop whisking at this point, but if you feel this process is going to fast you can remove the pan off the heat and whisk to blend the custard properly. Your custard is done when the consistency is similar to a thick pudding. This process should take no more than a few minutes. (See image here for how the final consistency should look.)
- Remove it from the pan and place the custard in a container to cool for at least 30 minutes before assembly. This custard can be made a day in advance and fridged.
Assembly
- Slice your preferred fruit. I like strawberries, blackberries, and kiwi.
- Glaze: Add apricot jelly and water in a small bowl. Microwave for about 10-15 seconds to melt the apricot jelly slightly, and mix together using a spoon. Strain the jelly mixture.
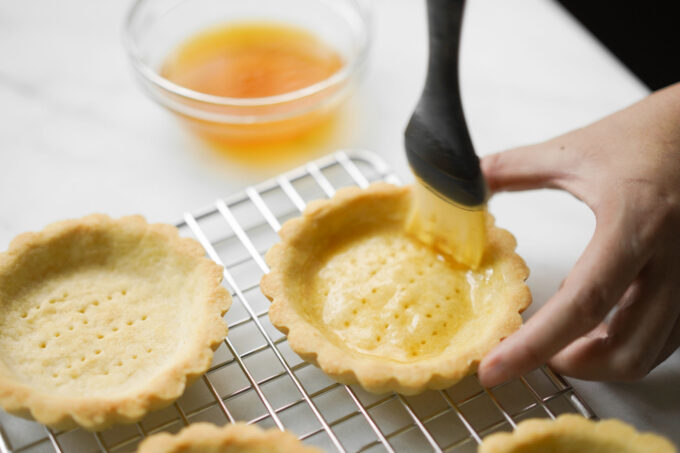
- TIP: To prevent your tarts from getting soggy, brush on some glaze to the tart before adding the custard filling. This should act as a barrier.
- Take one shell tart and spoon in the whipped custard cream. I like to add enough custard to fill about ¾ of the tart shell. Arrange your fruit on top however, you prefer. Brush on the apricot glaze over the fruit tart. Serve immediately or chill for about 15 minutes if you want a nice and cold treat.


I love fruit tarts but always felt intimidated by the process. Thanks for showing us the “way”, Huy! Btw, how many cups of flour are in 225 grams, your recipe stated 6 c?
This photo set is beautiful! Can’t wait to try the recipe out!
Turned out fantastic! I made it for my son’s birthday party for 20 people (4 batches). I was nervous because I didn’t have a backup plan or many more eggs, but it is super delicious.
I bought little aluminum tart holders with lid and I am servig these deliciousness tomorrow individually wrapped -covid safe. Thank you for, I will definitely make these again!!
Thanks for sharing Zsofia–glad it worked out for you without a backup plan whew! 🙂
is it possible to freeze the tart dough for a few days before pushing it into the pans and baking?